A few years ago, my friend decided to have a rather impromptu wedding and didn’t even send out formal invitations. She told me she didn’t want a big fancy traditional wedding, and that’s OK. But part of what make weddings so special (aside from the gooey romance bit) is that it is a rite of passage from single life to married life. She was leaving the tribe to set out on her own, as it were. And from a cultural standpoint, the rituals associated with these moments are just as much for the tribe being left behind as they are for the individual leaving.
So I told her I was going to make her some wedding favors (notice that I didn’t ask) and she said “OK, but something simple”. I made three prototypes: a CD, a bookmark with teabags, and a seed packet with a special tag. She ended up loving all three and so I made enough so that everyone could walk away with at least two favors.
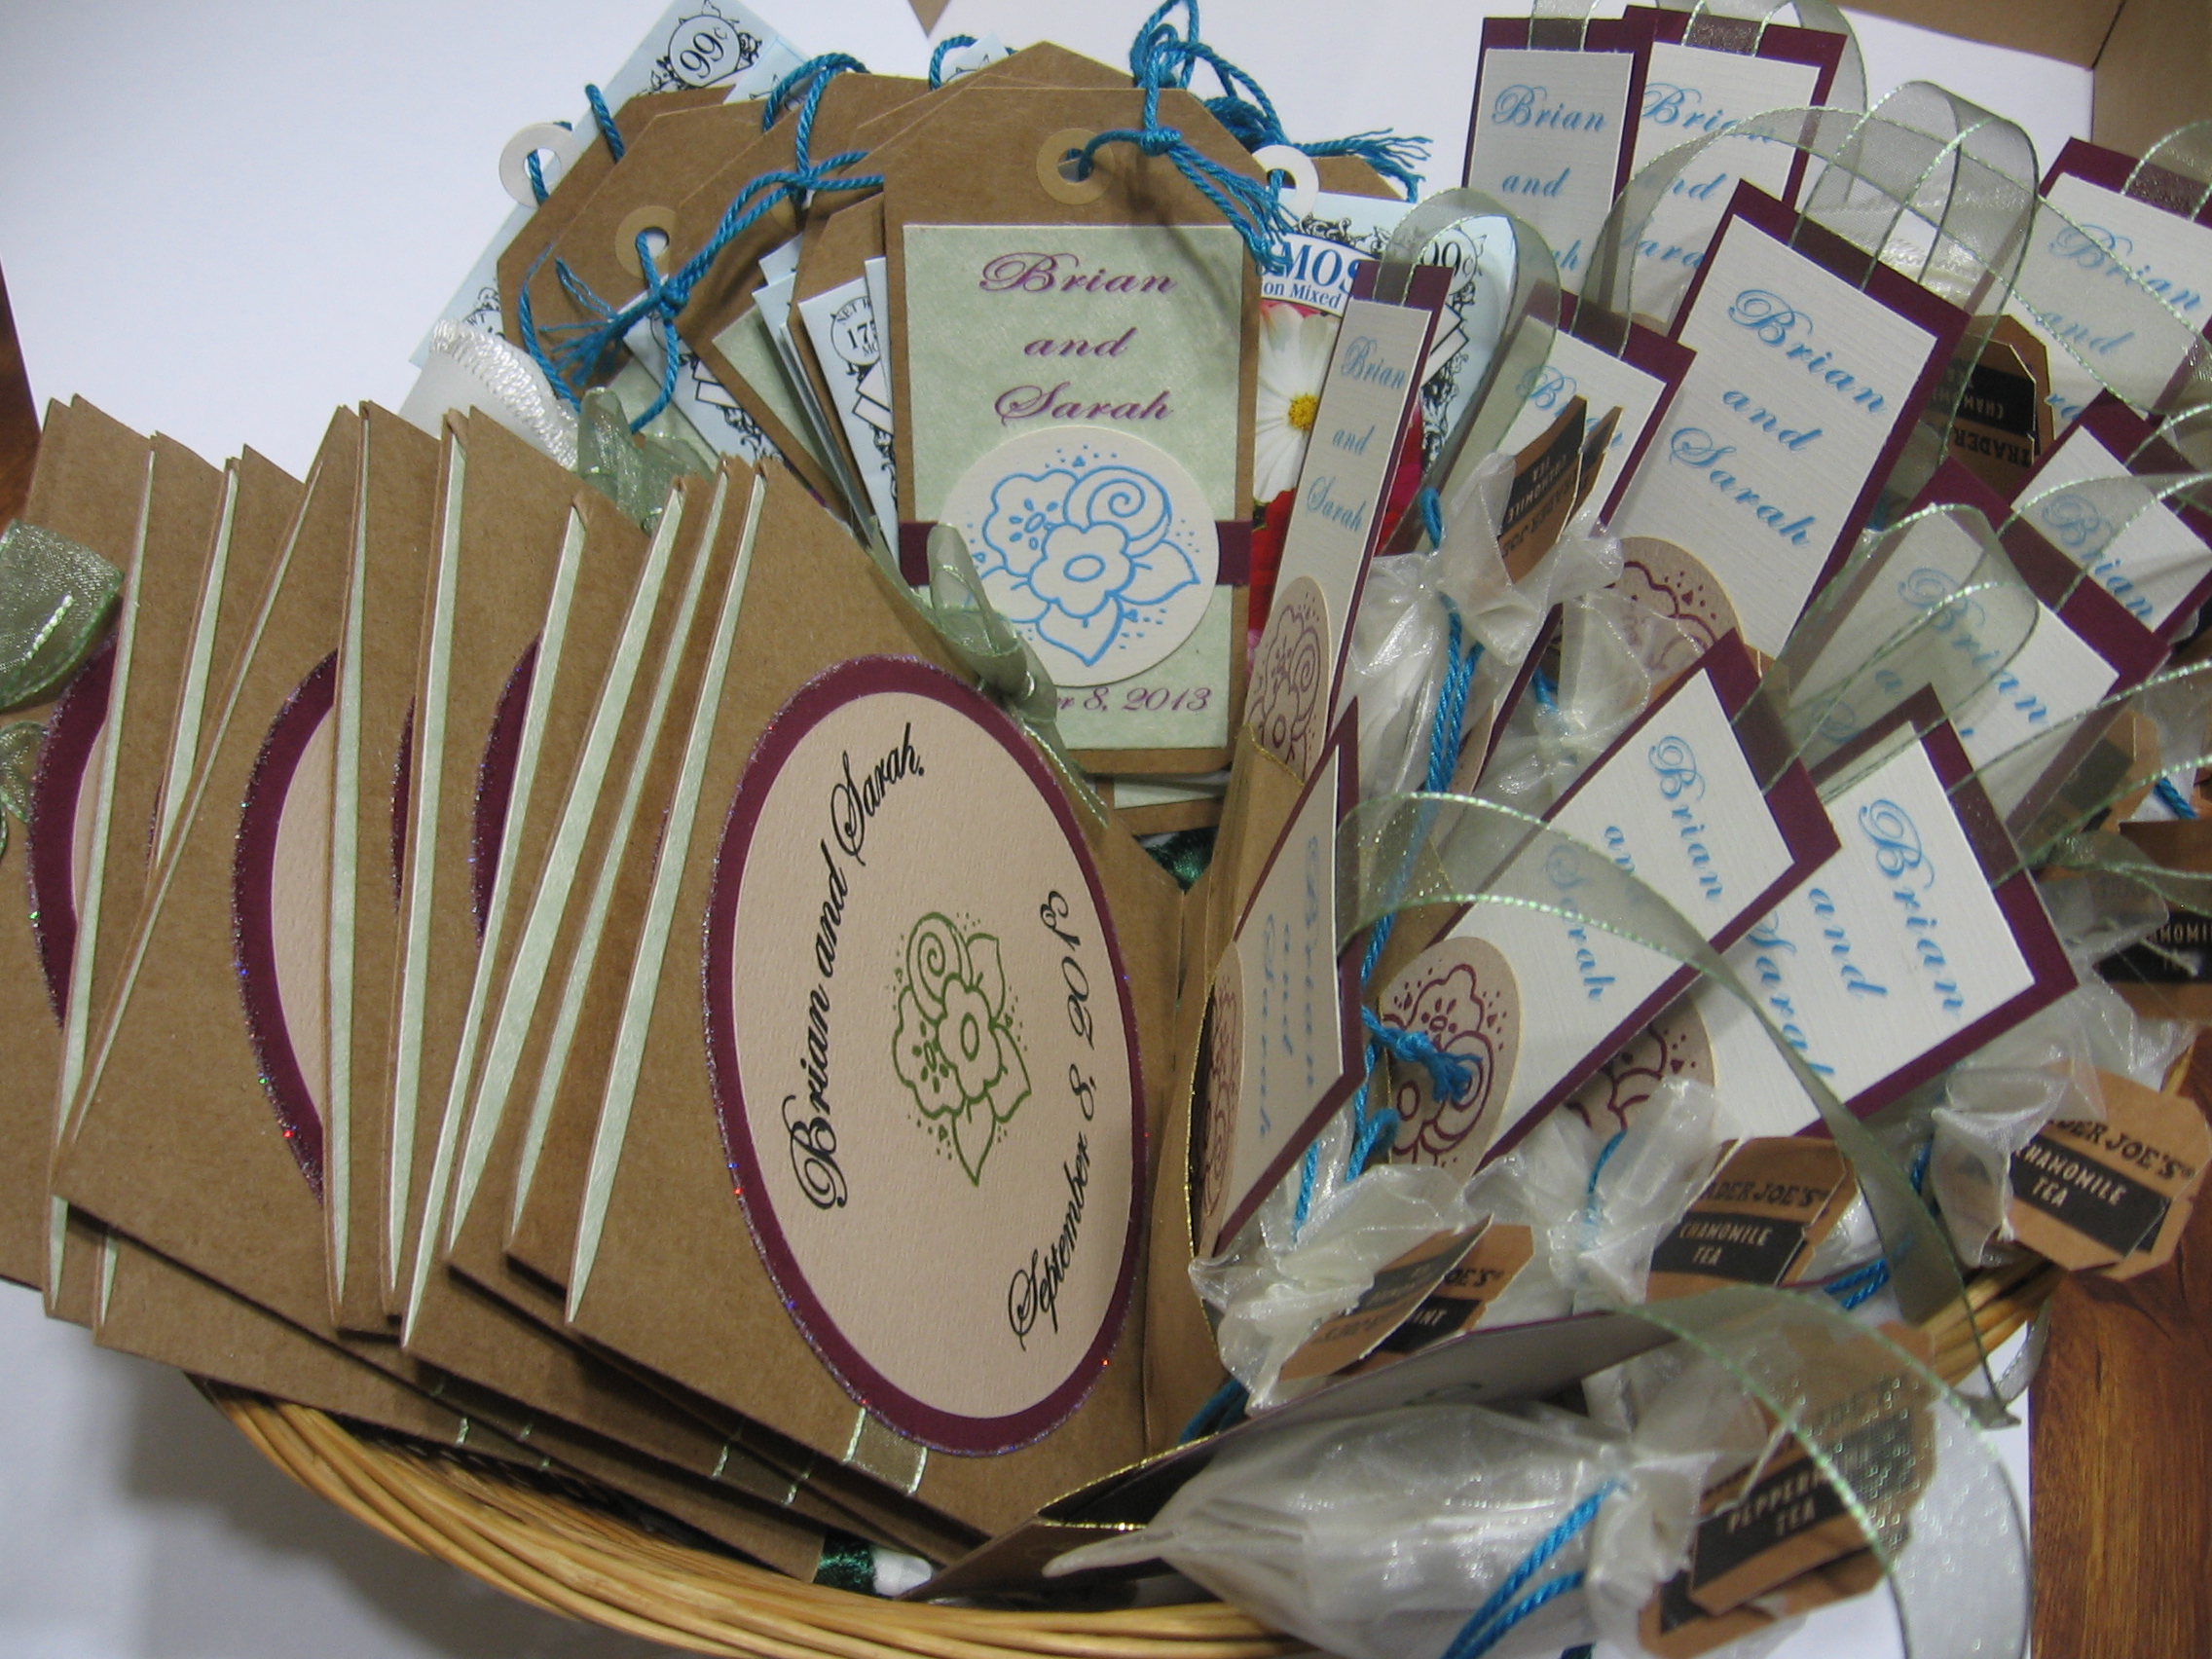
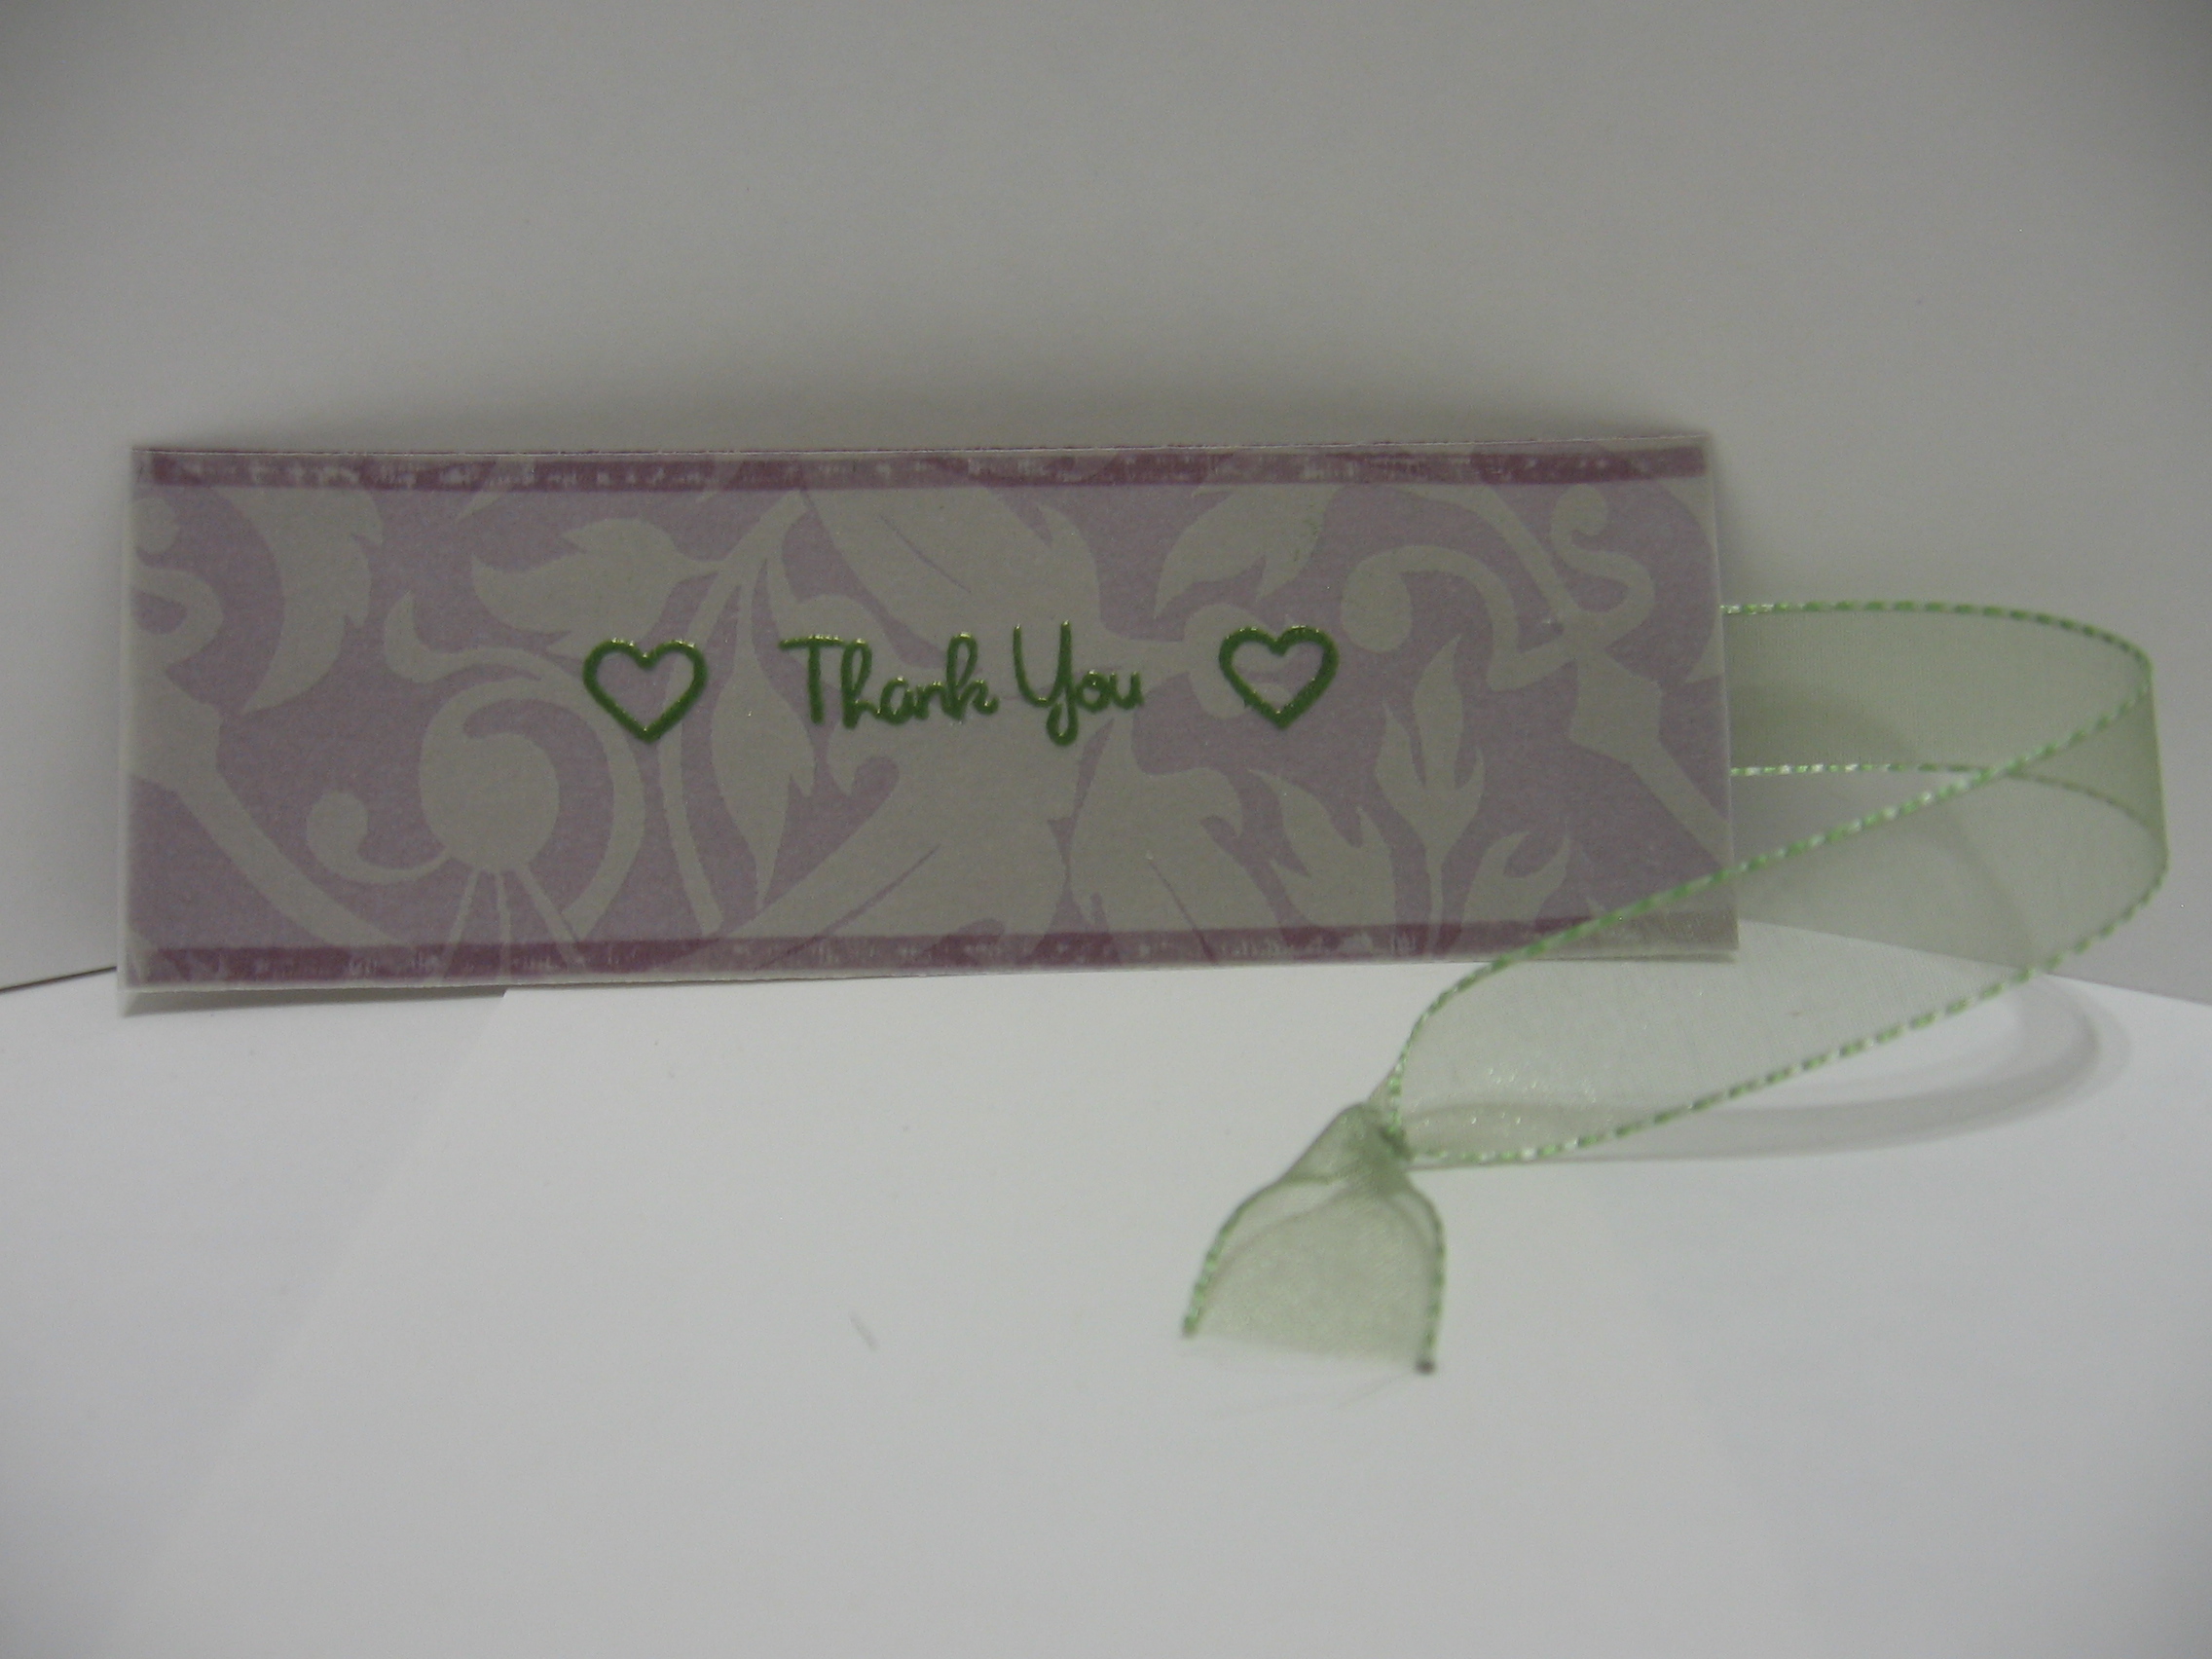
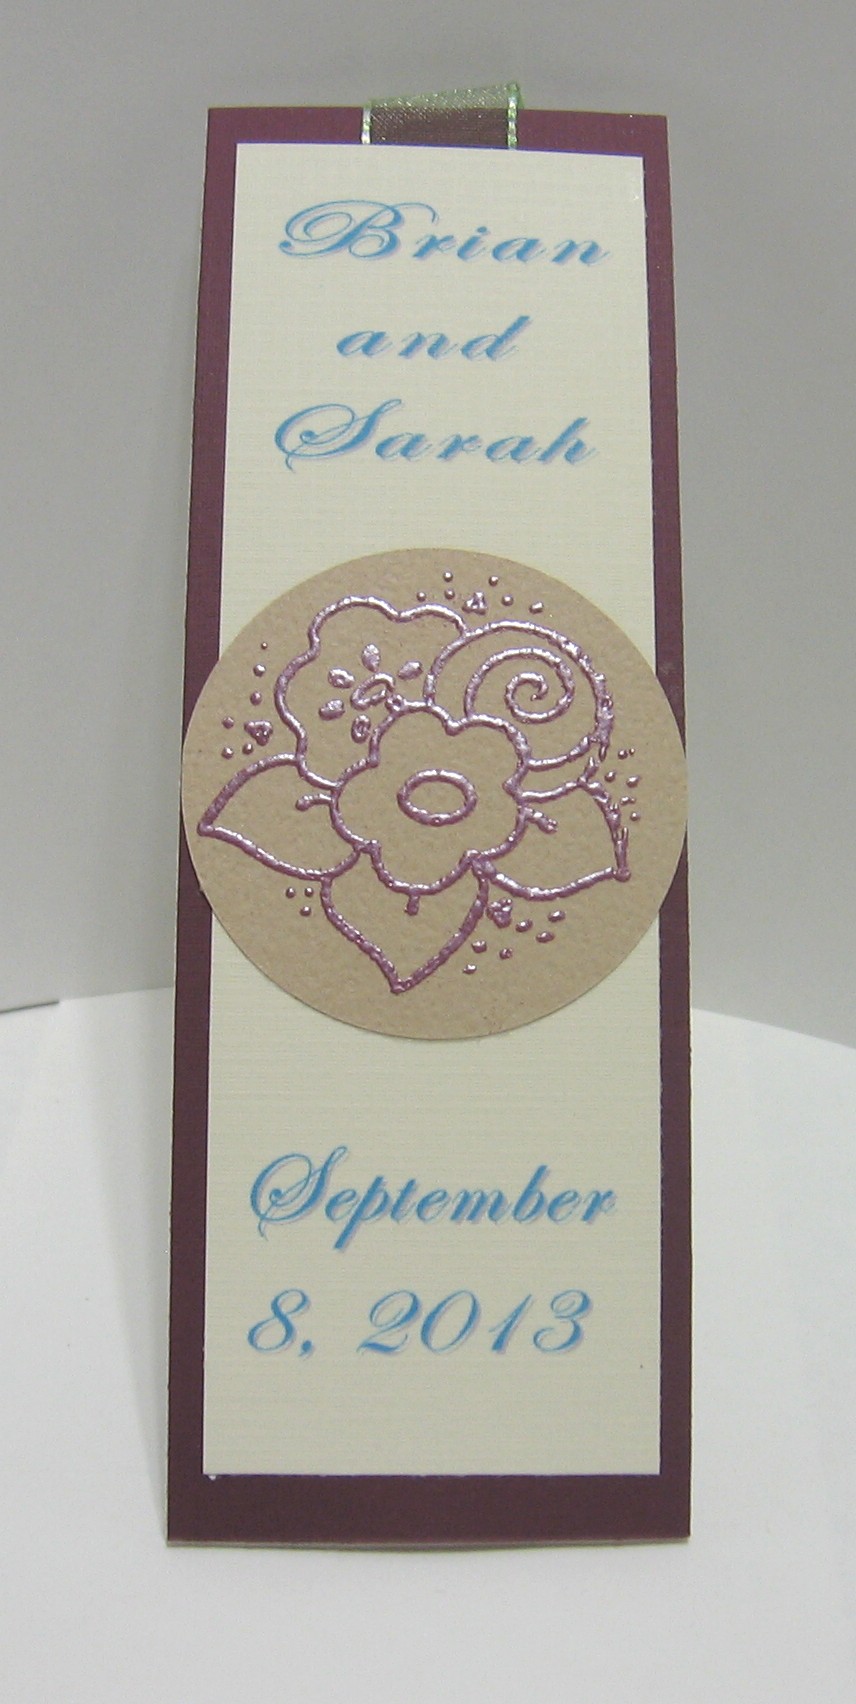
1. Bookmark and Bag of Tea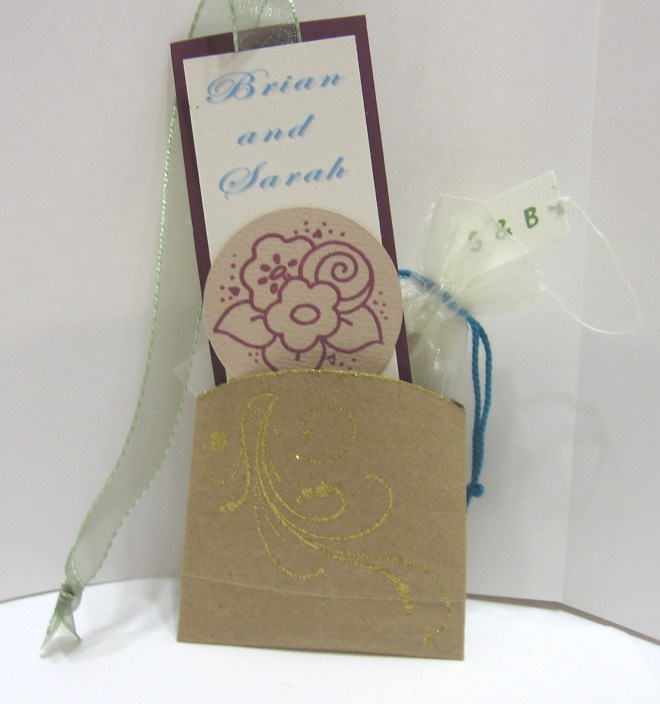
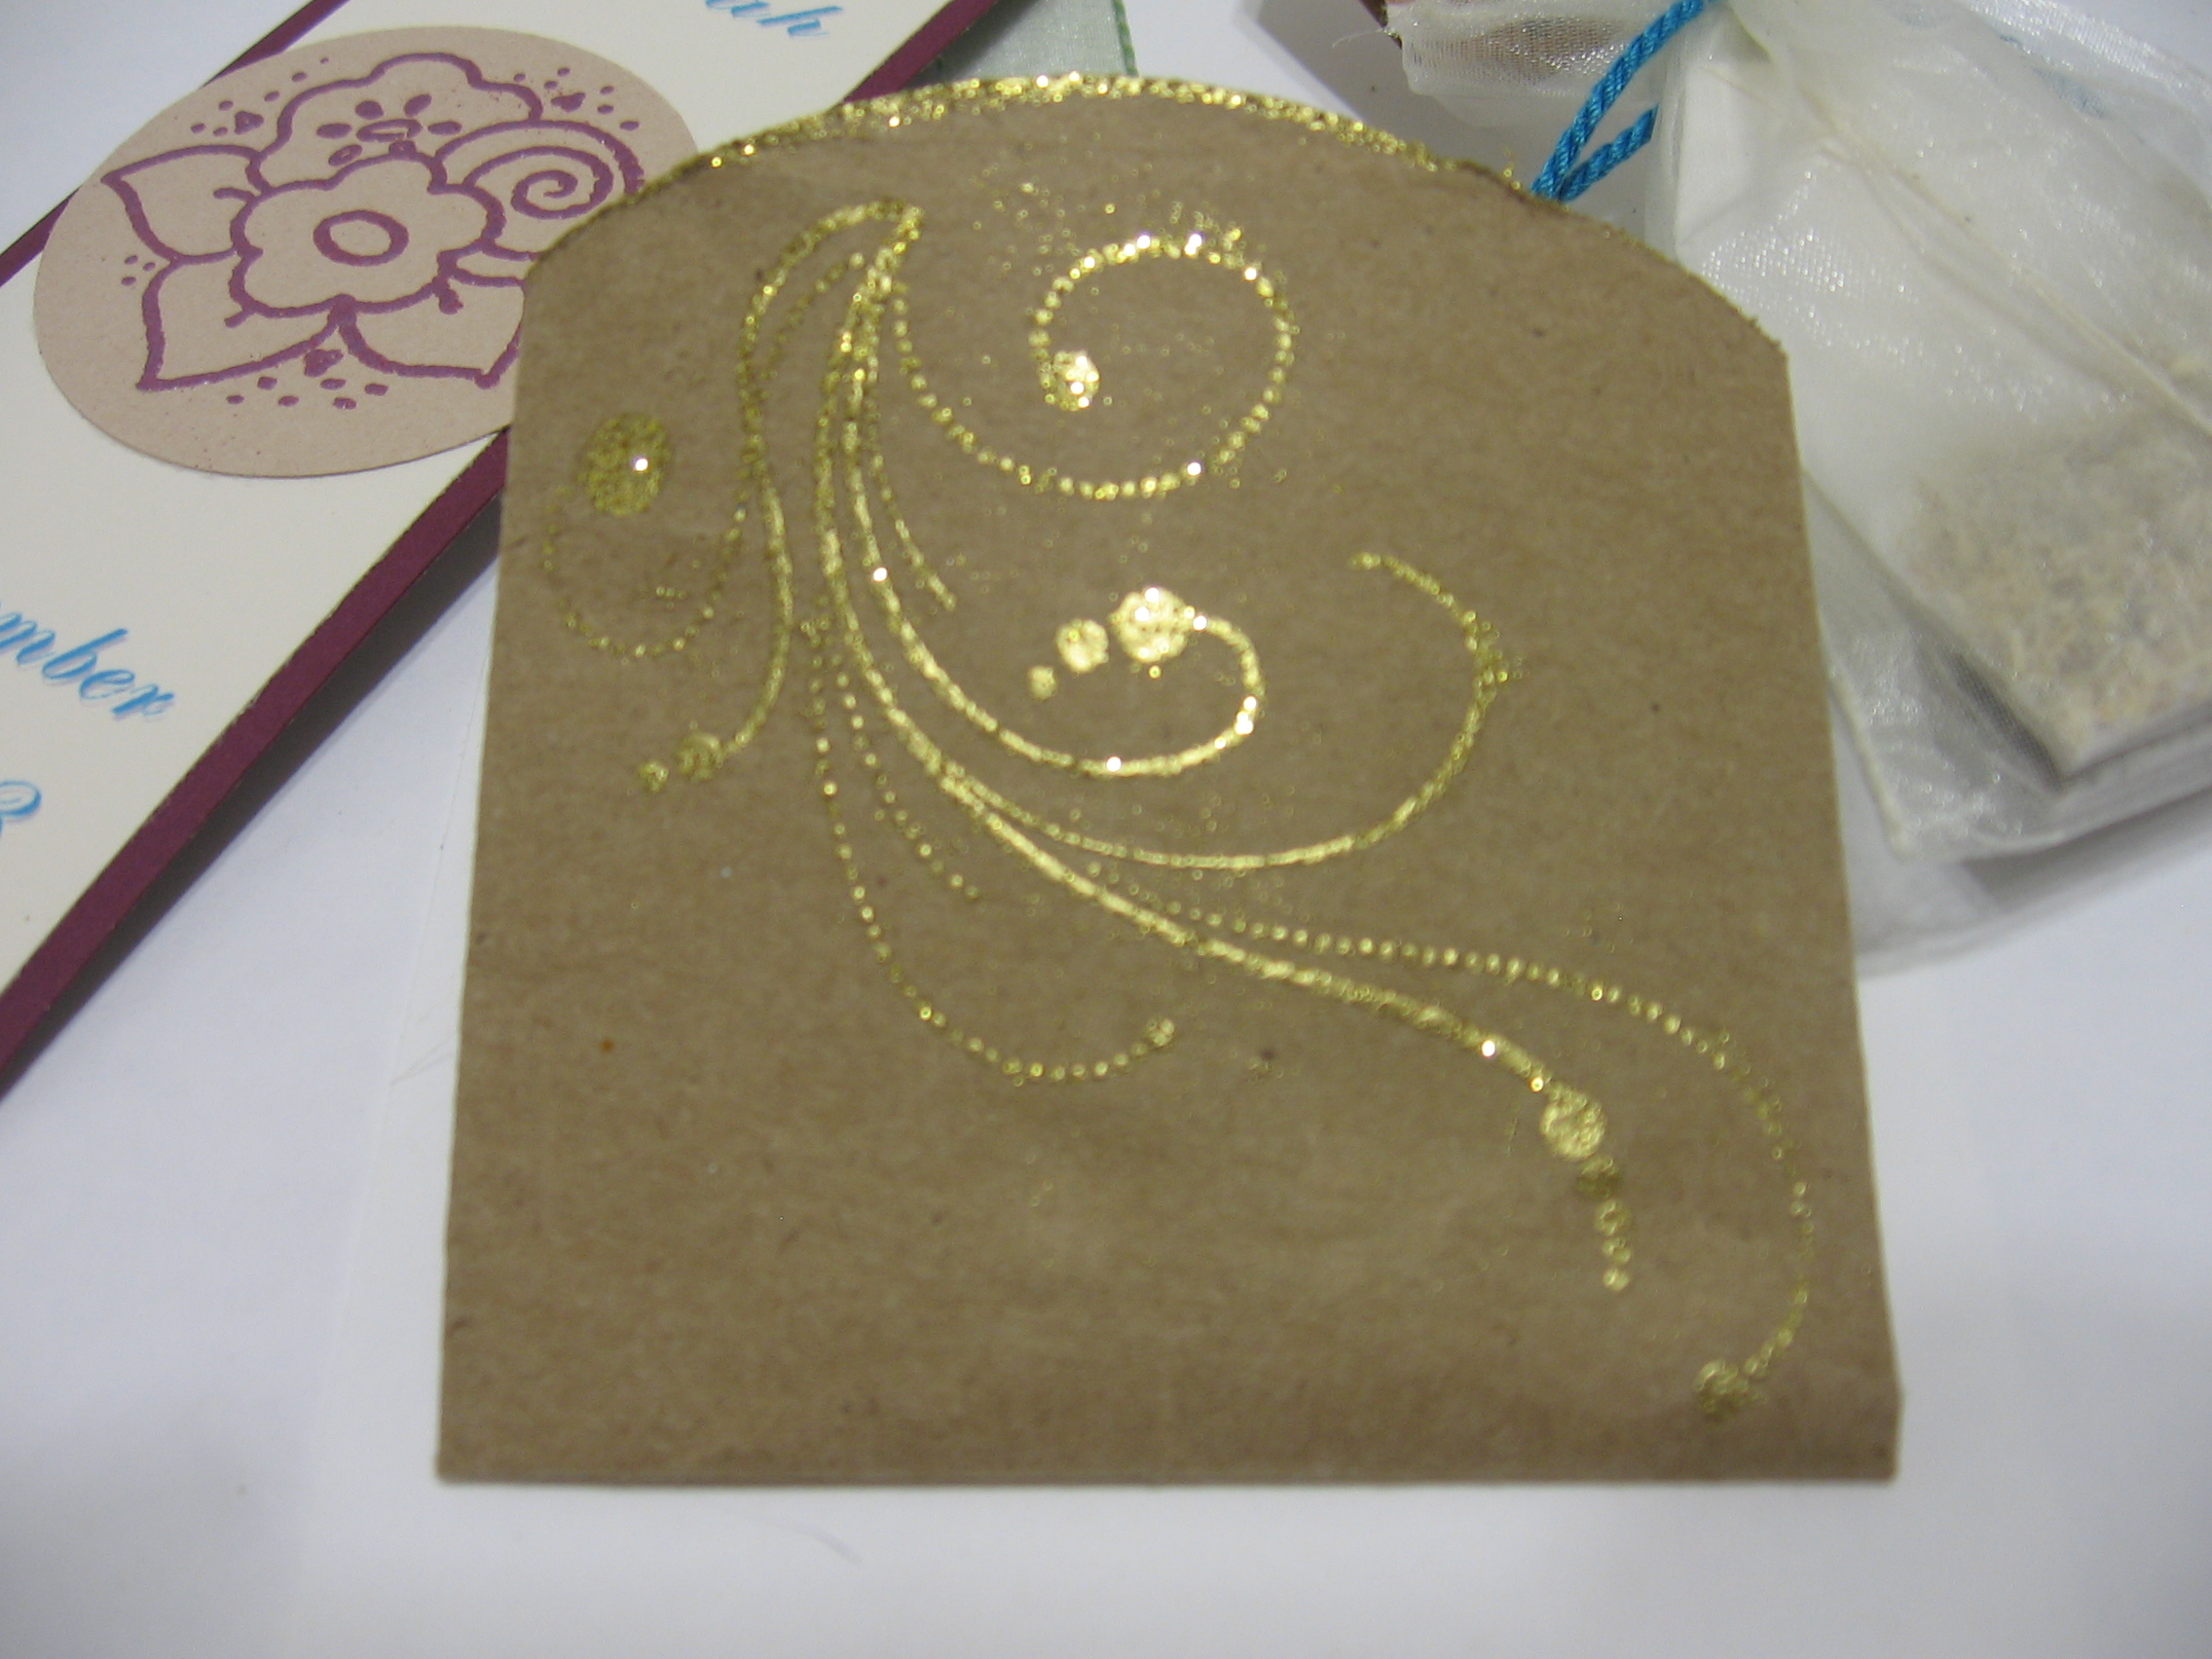
I up-cycled some paper bags, embossed the edges and stamp with gold, and folded it into a pouch. The bookmark is 2-sided, with embossed stamping on both sides. The tea bags have an embossed tag with the bride and grooms initial.

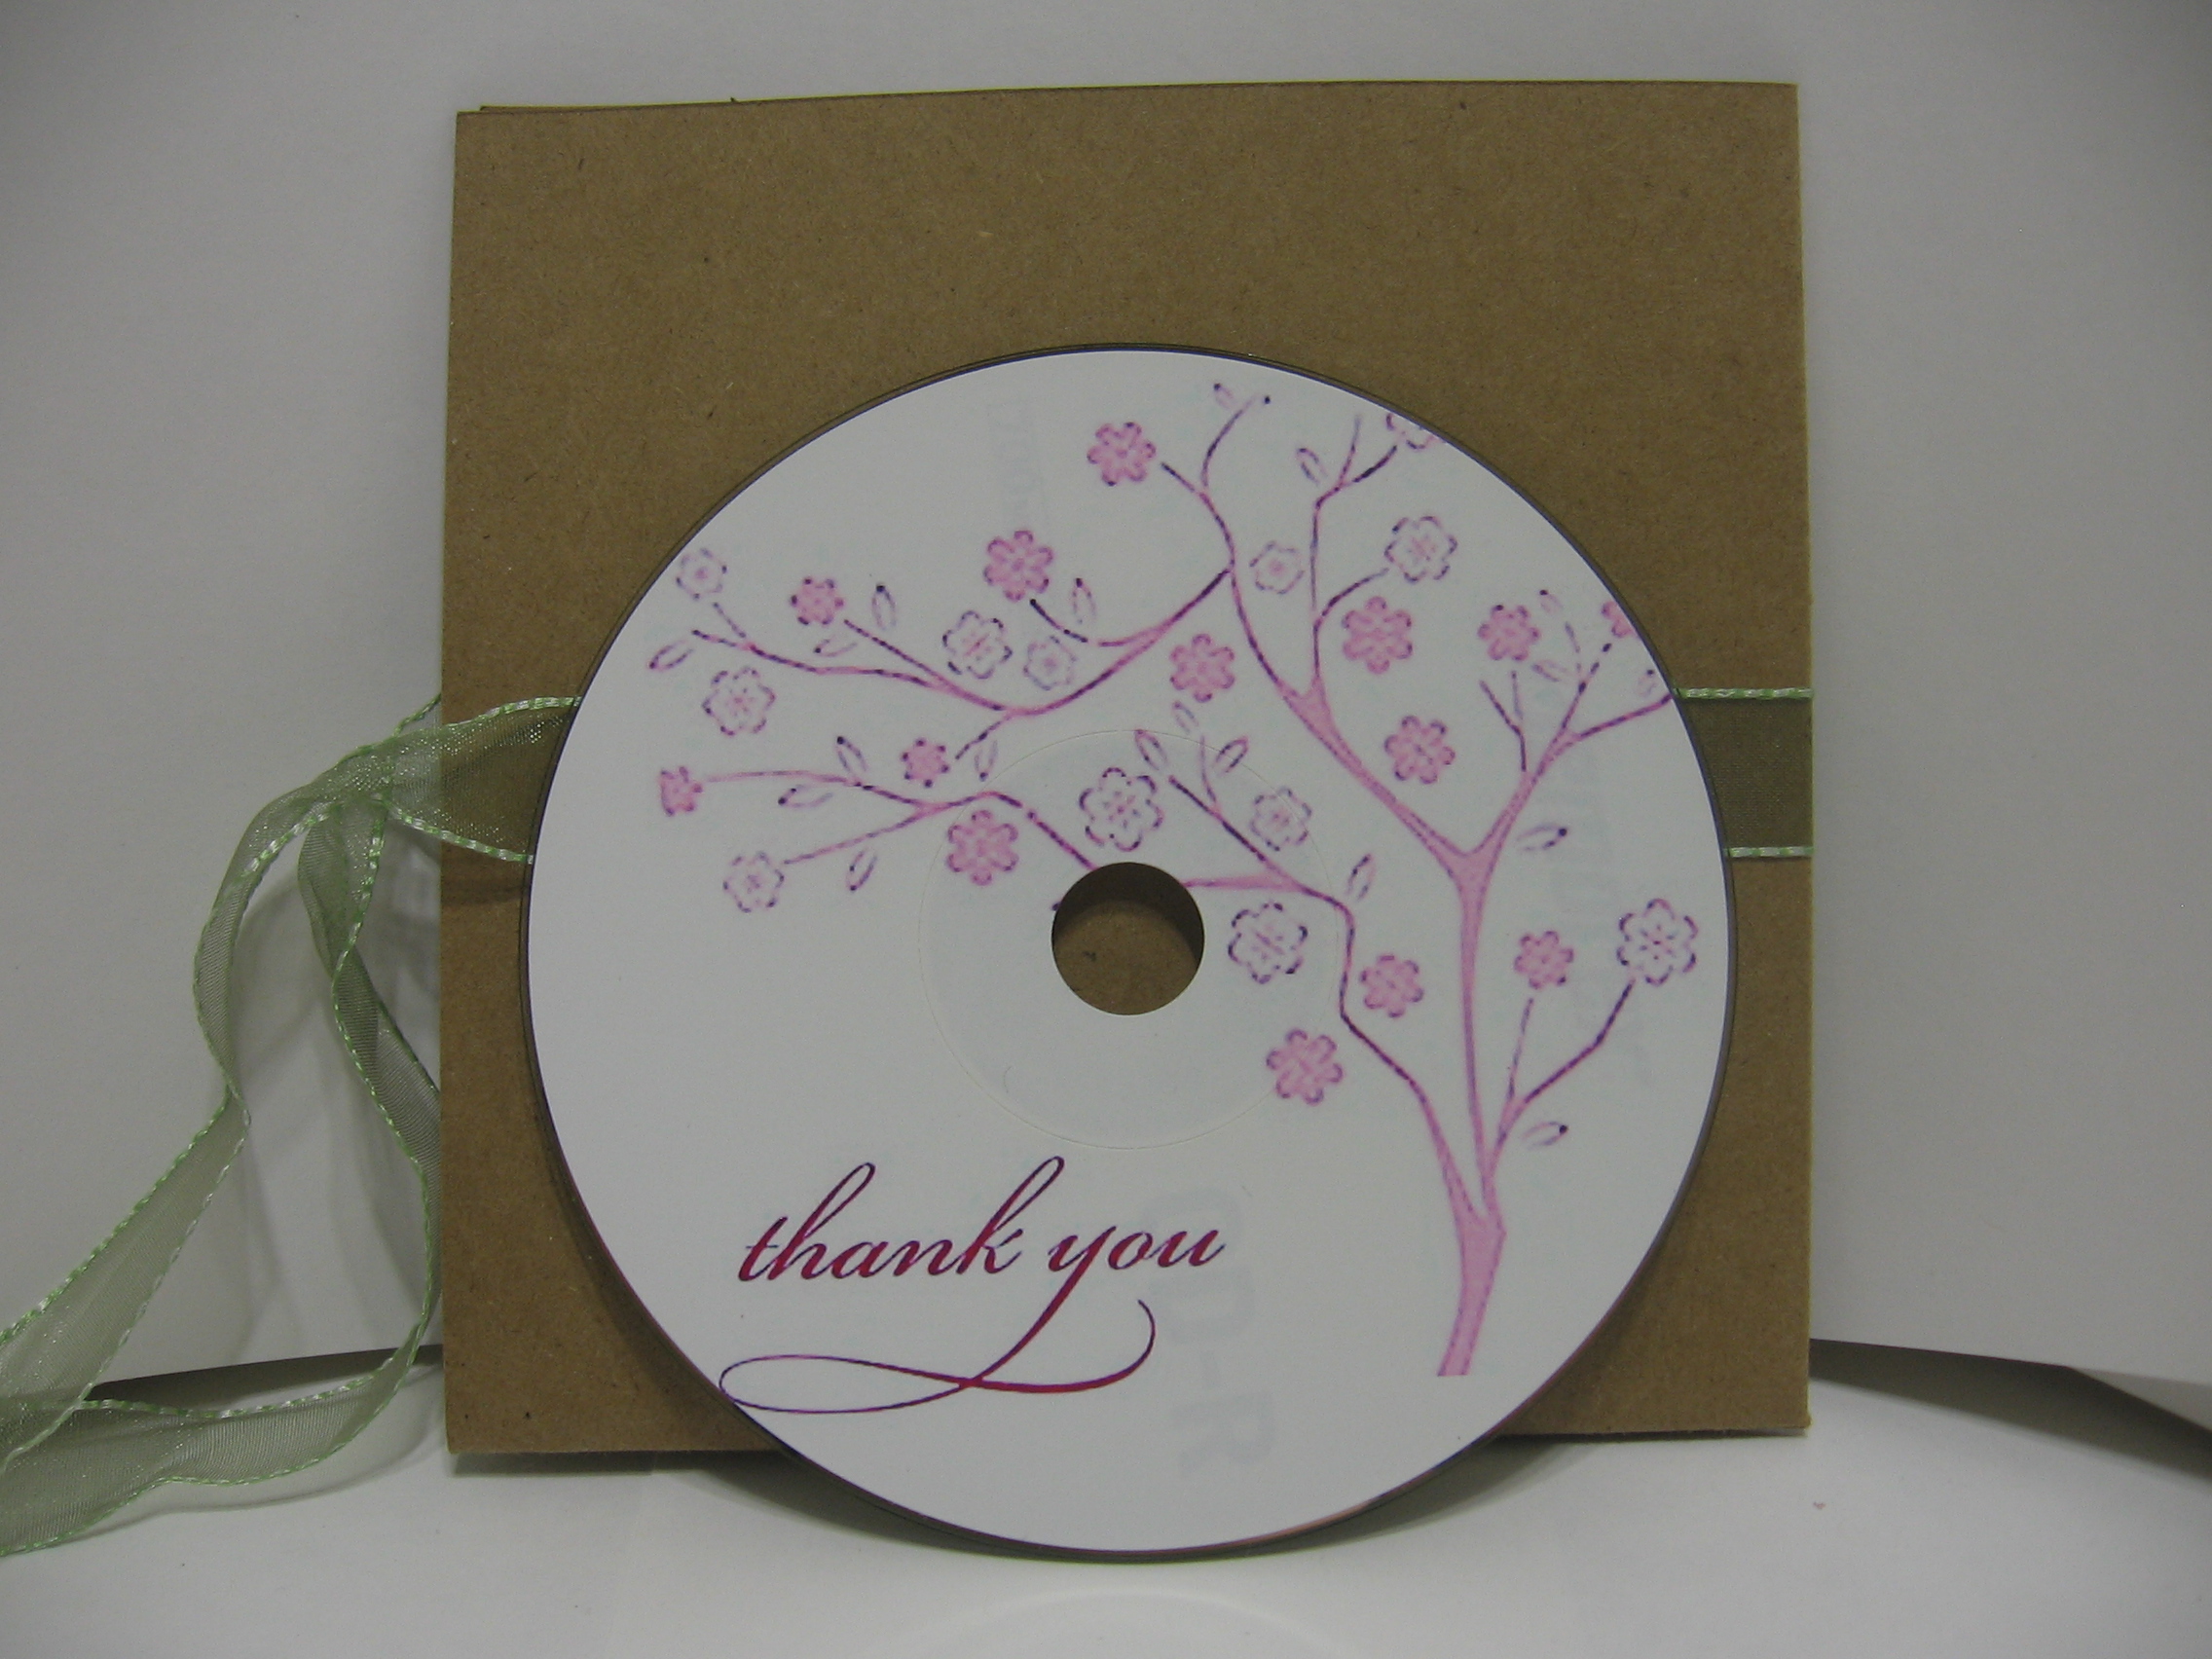
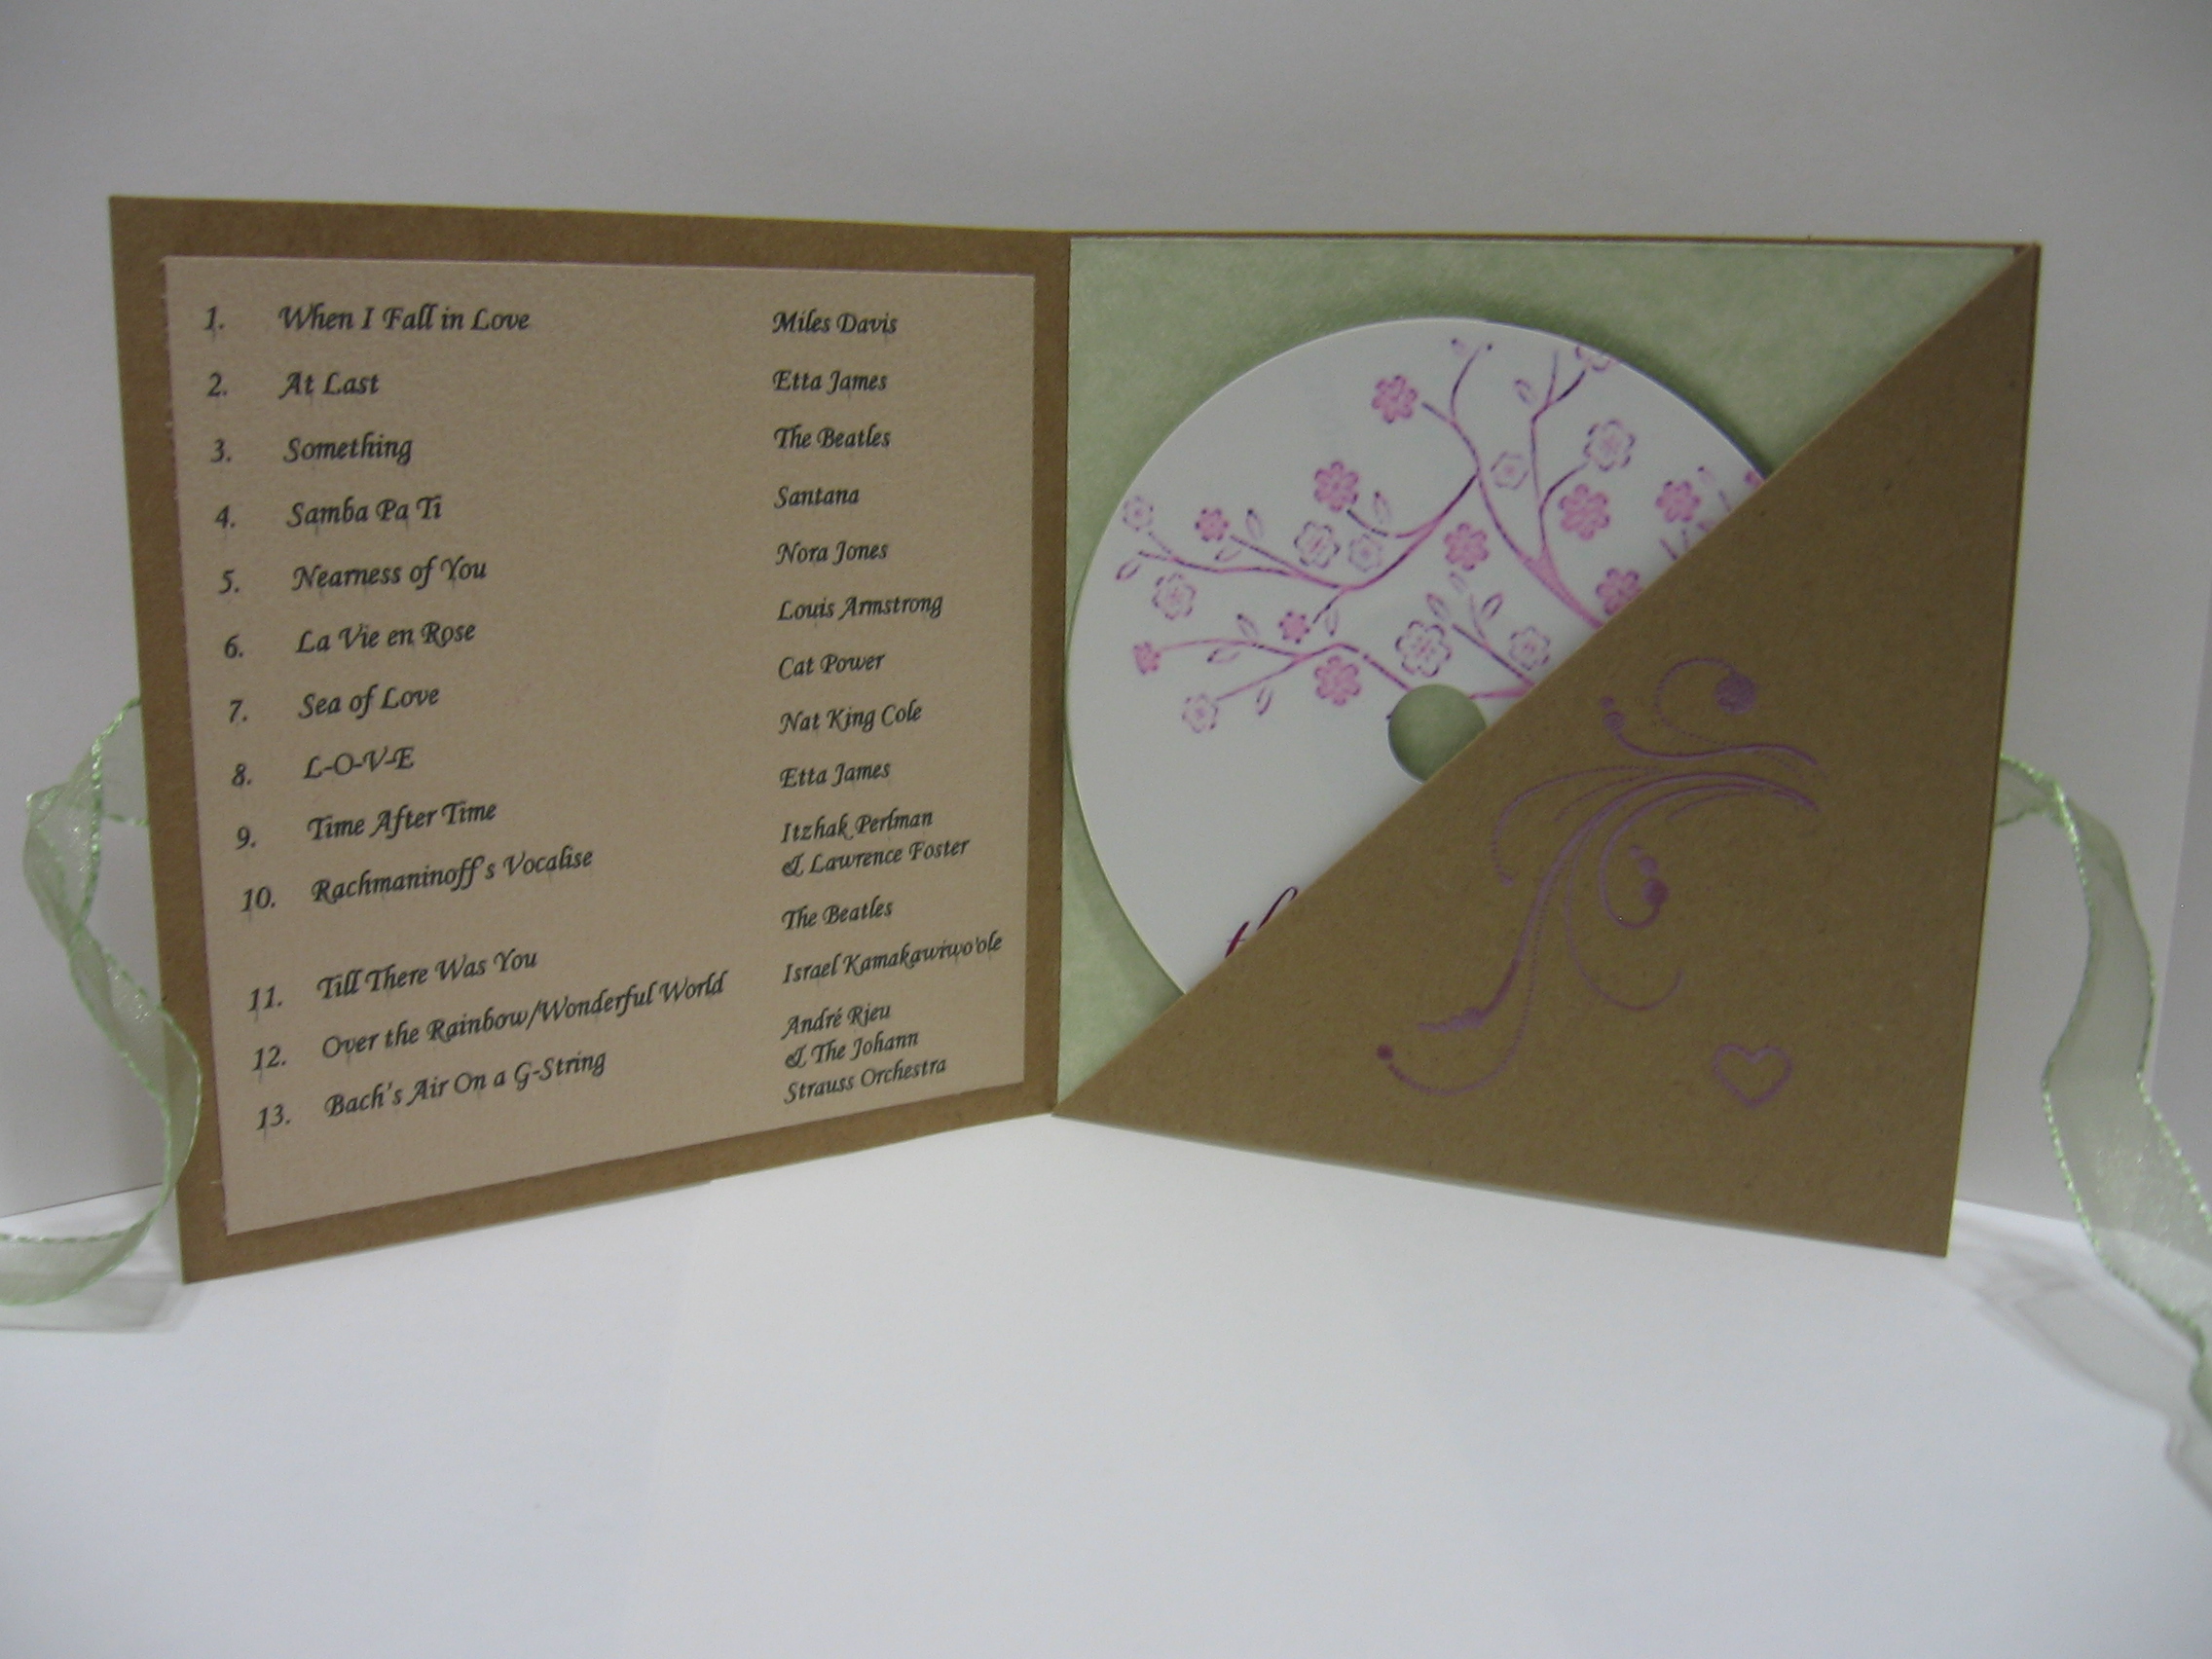
2. CD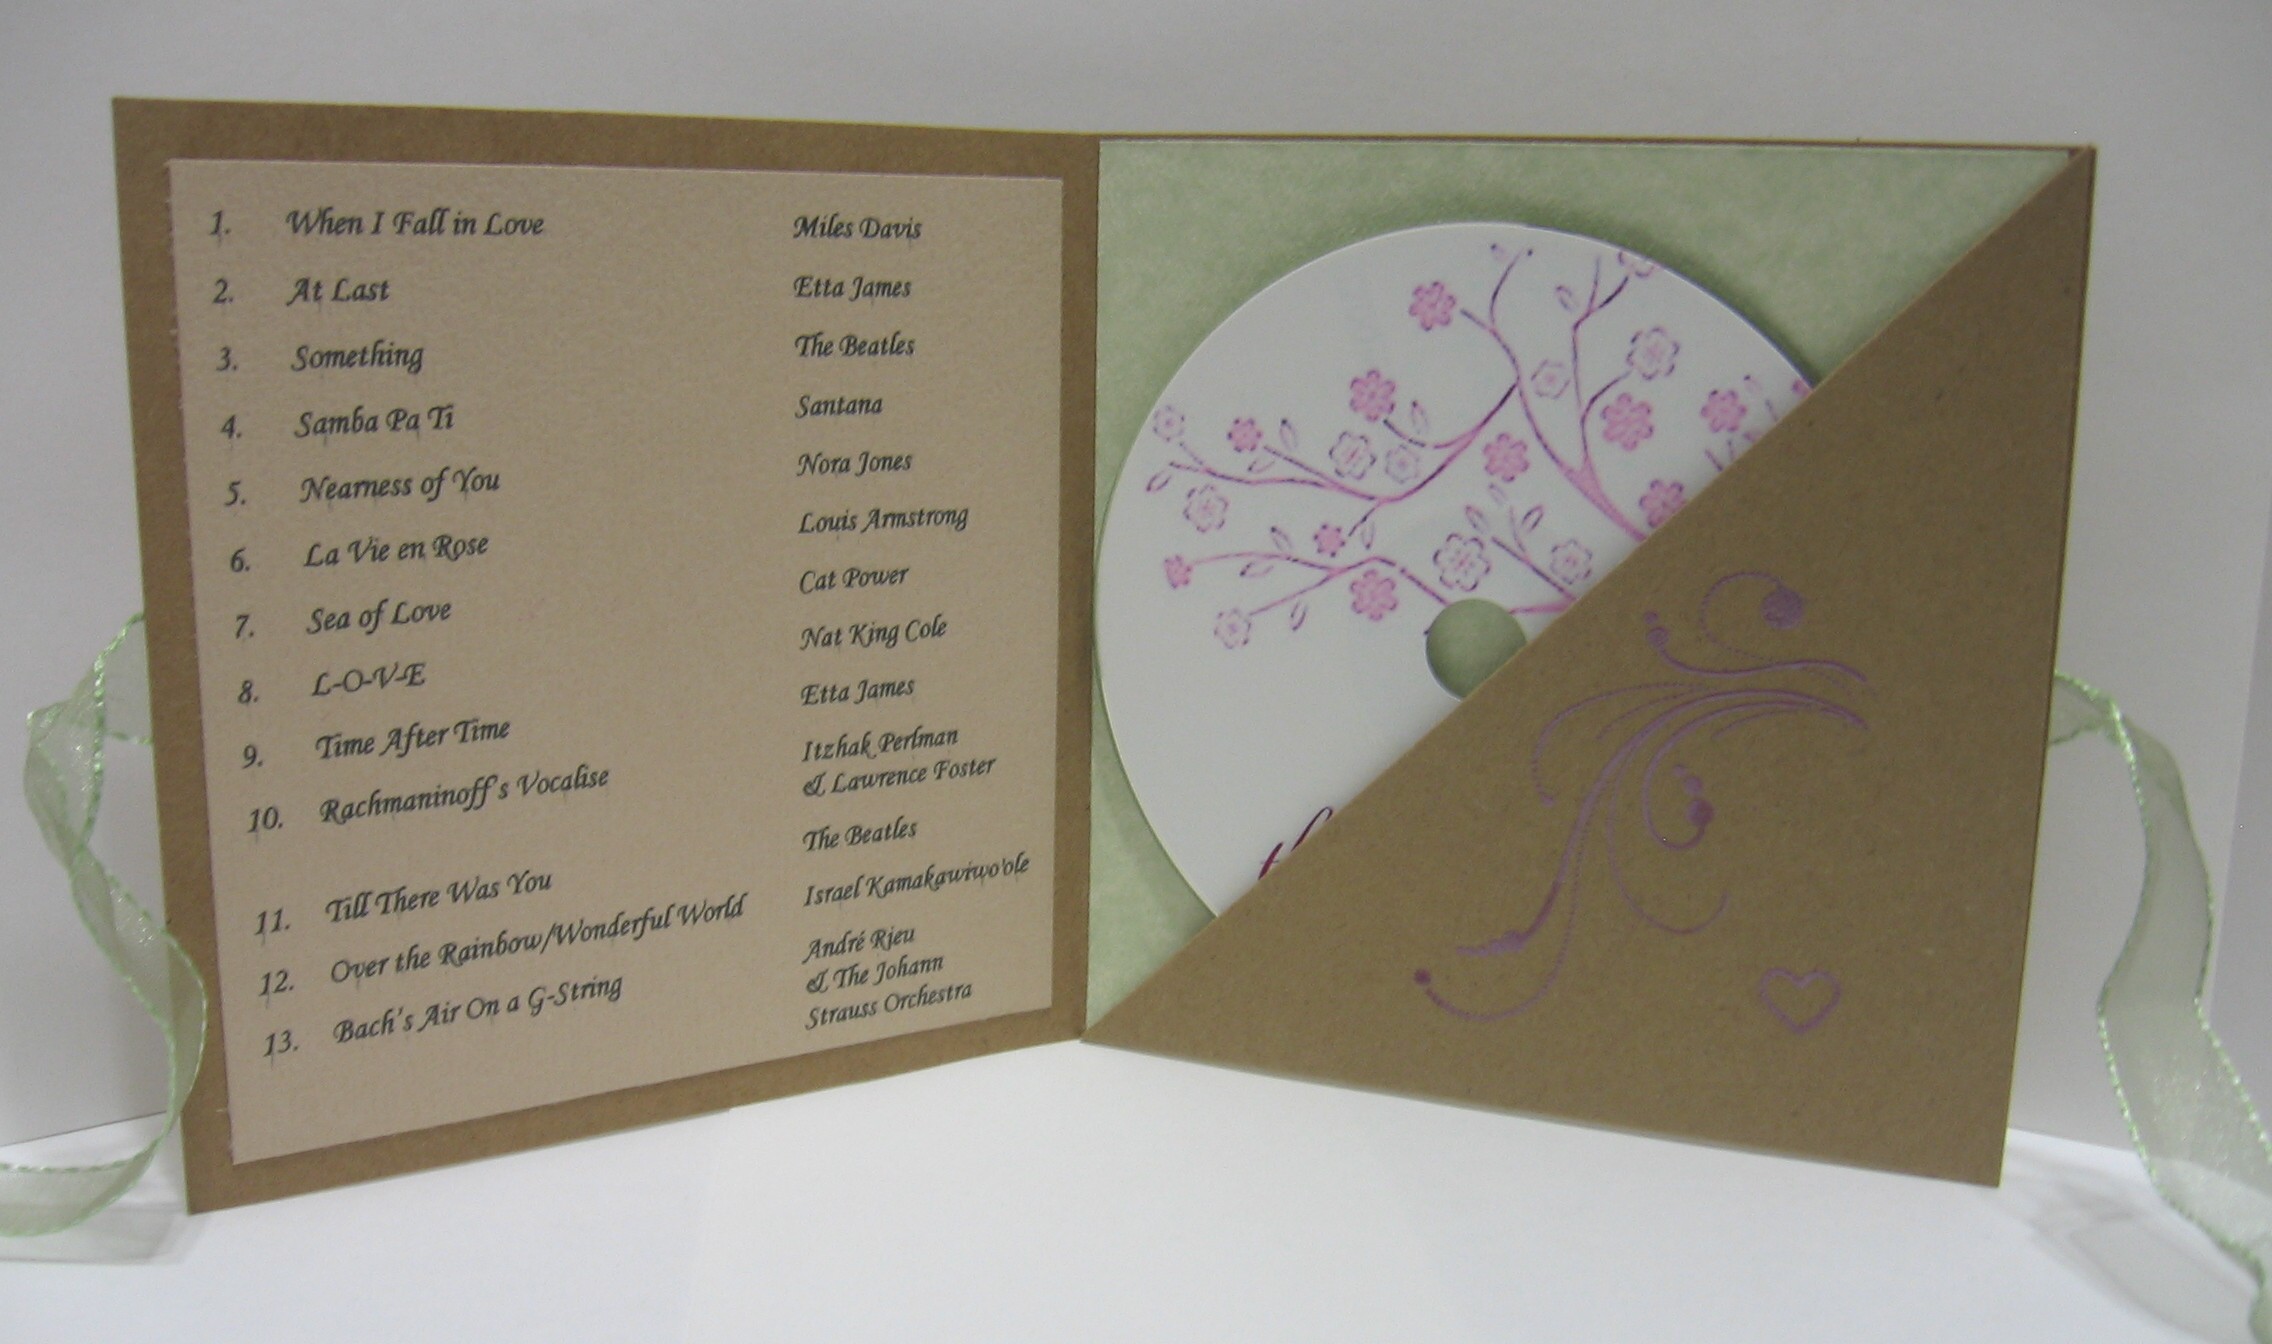
For these, I used my photo printer to print directly onto the CD and print the playlist. I made the CD holder out of heavy card stock with embossed stamping and edging on the front layers.


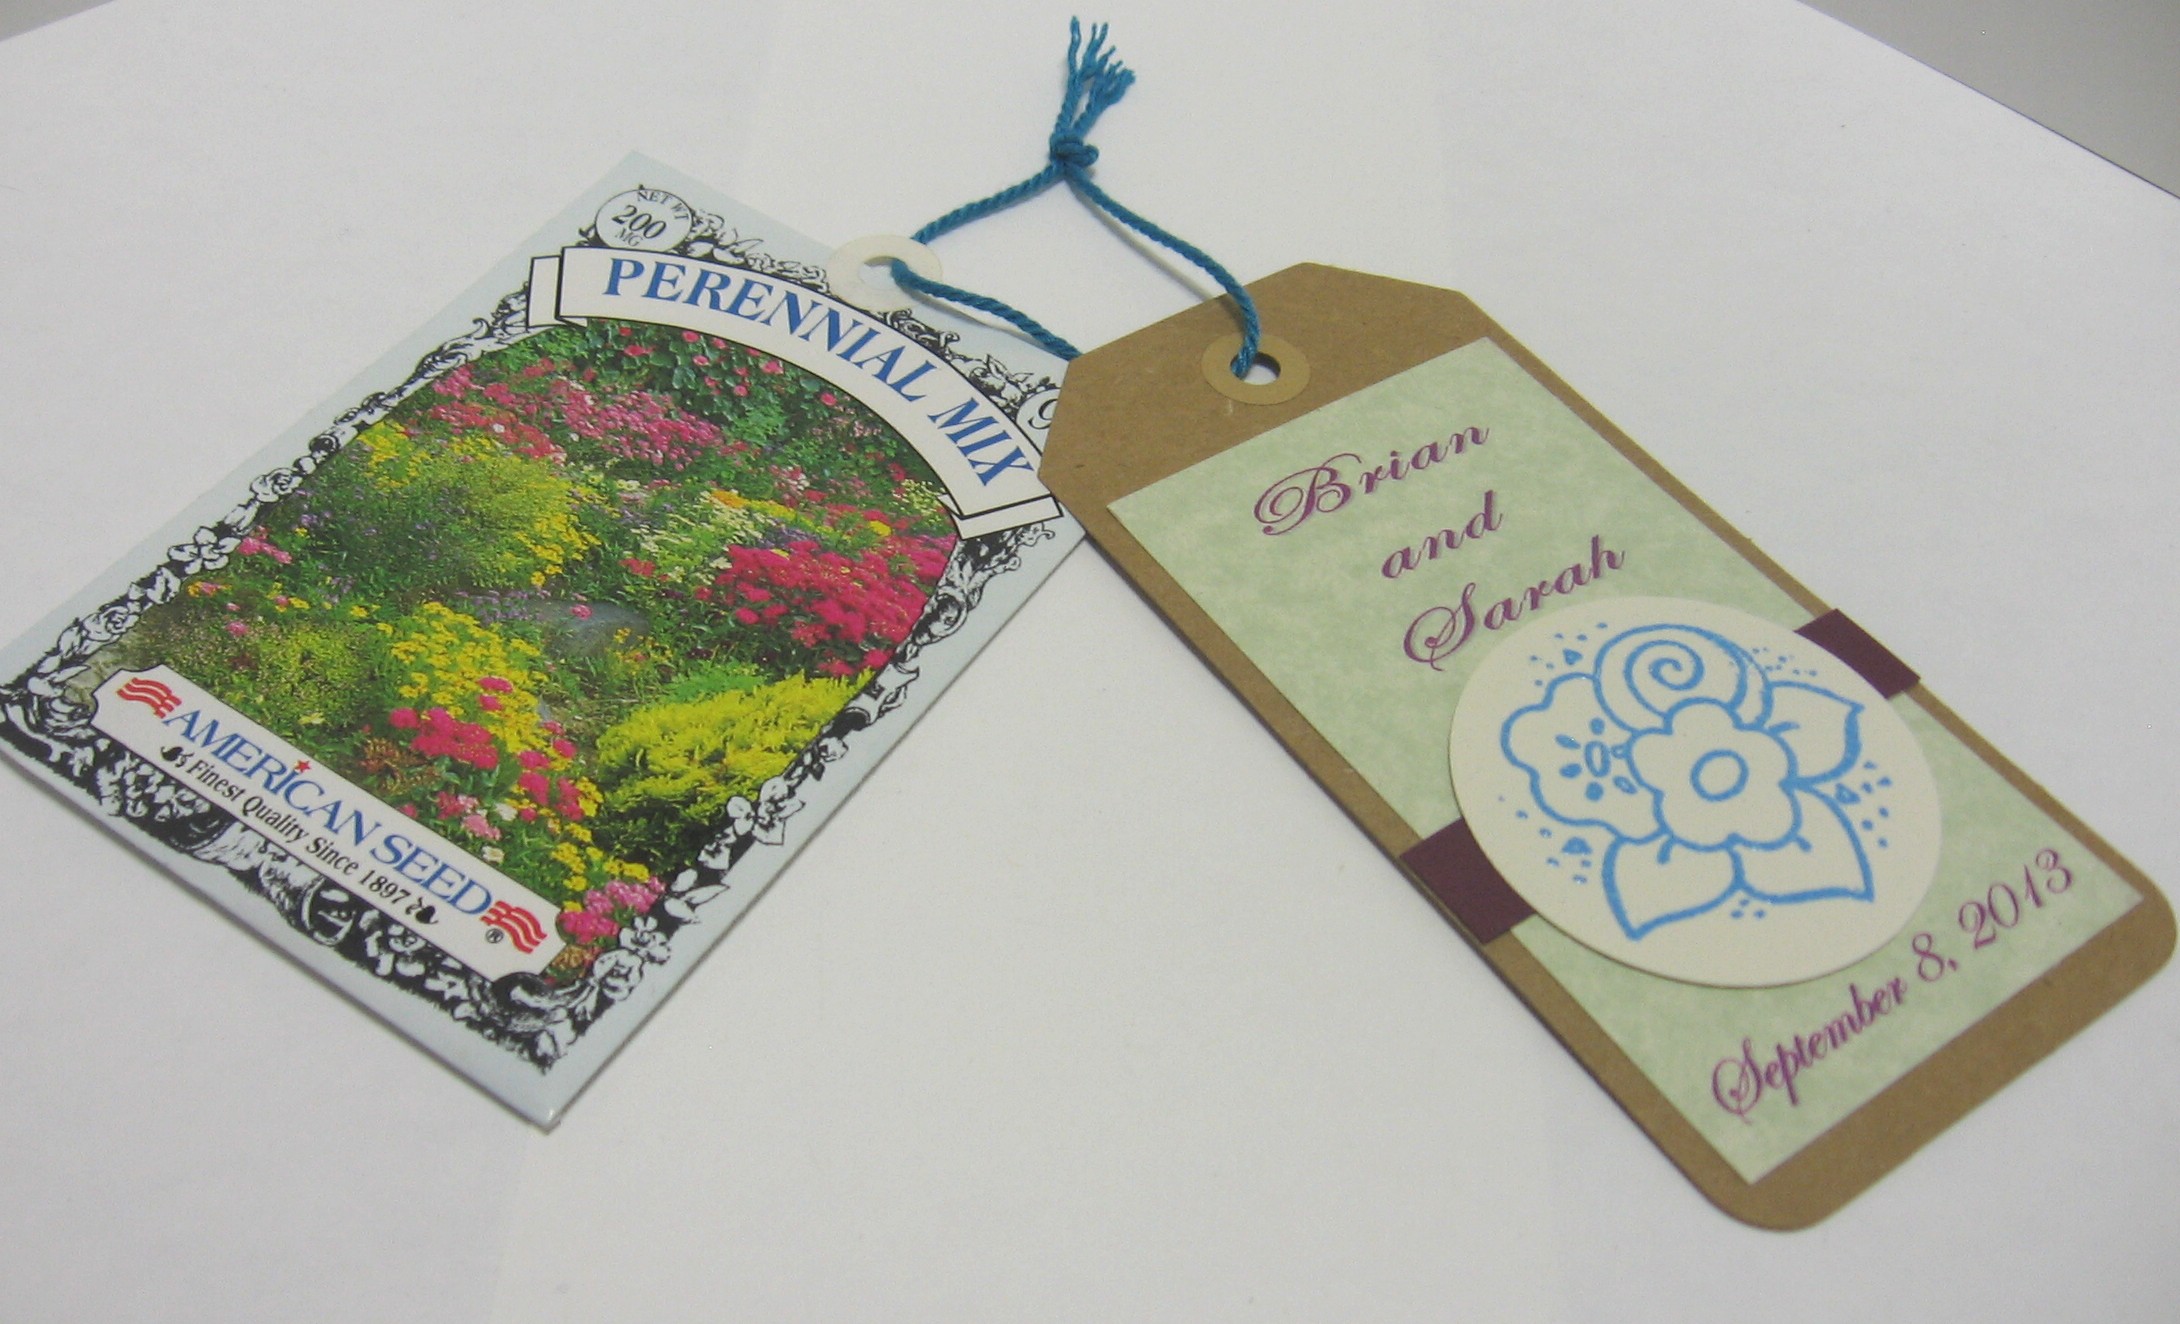
3. Seed Packet with Tag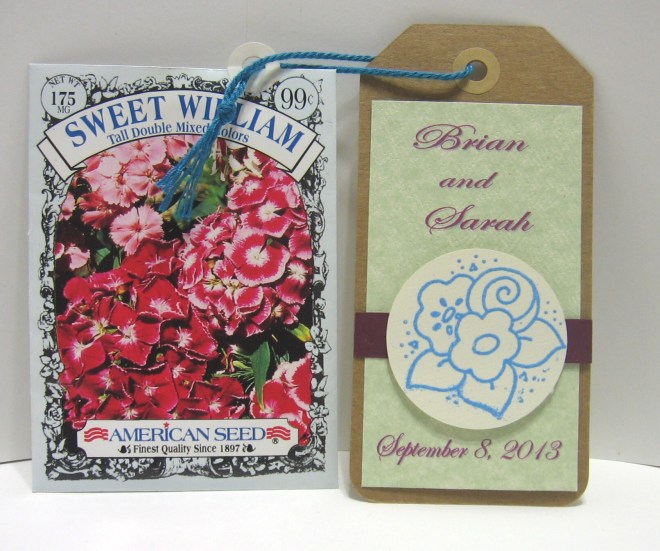
I used prefab tags, but changed the chord to match the color scheme. One side has the repeated design, the other side has embossed edging and stamping. 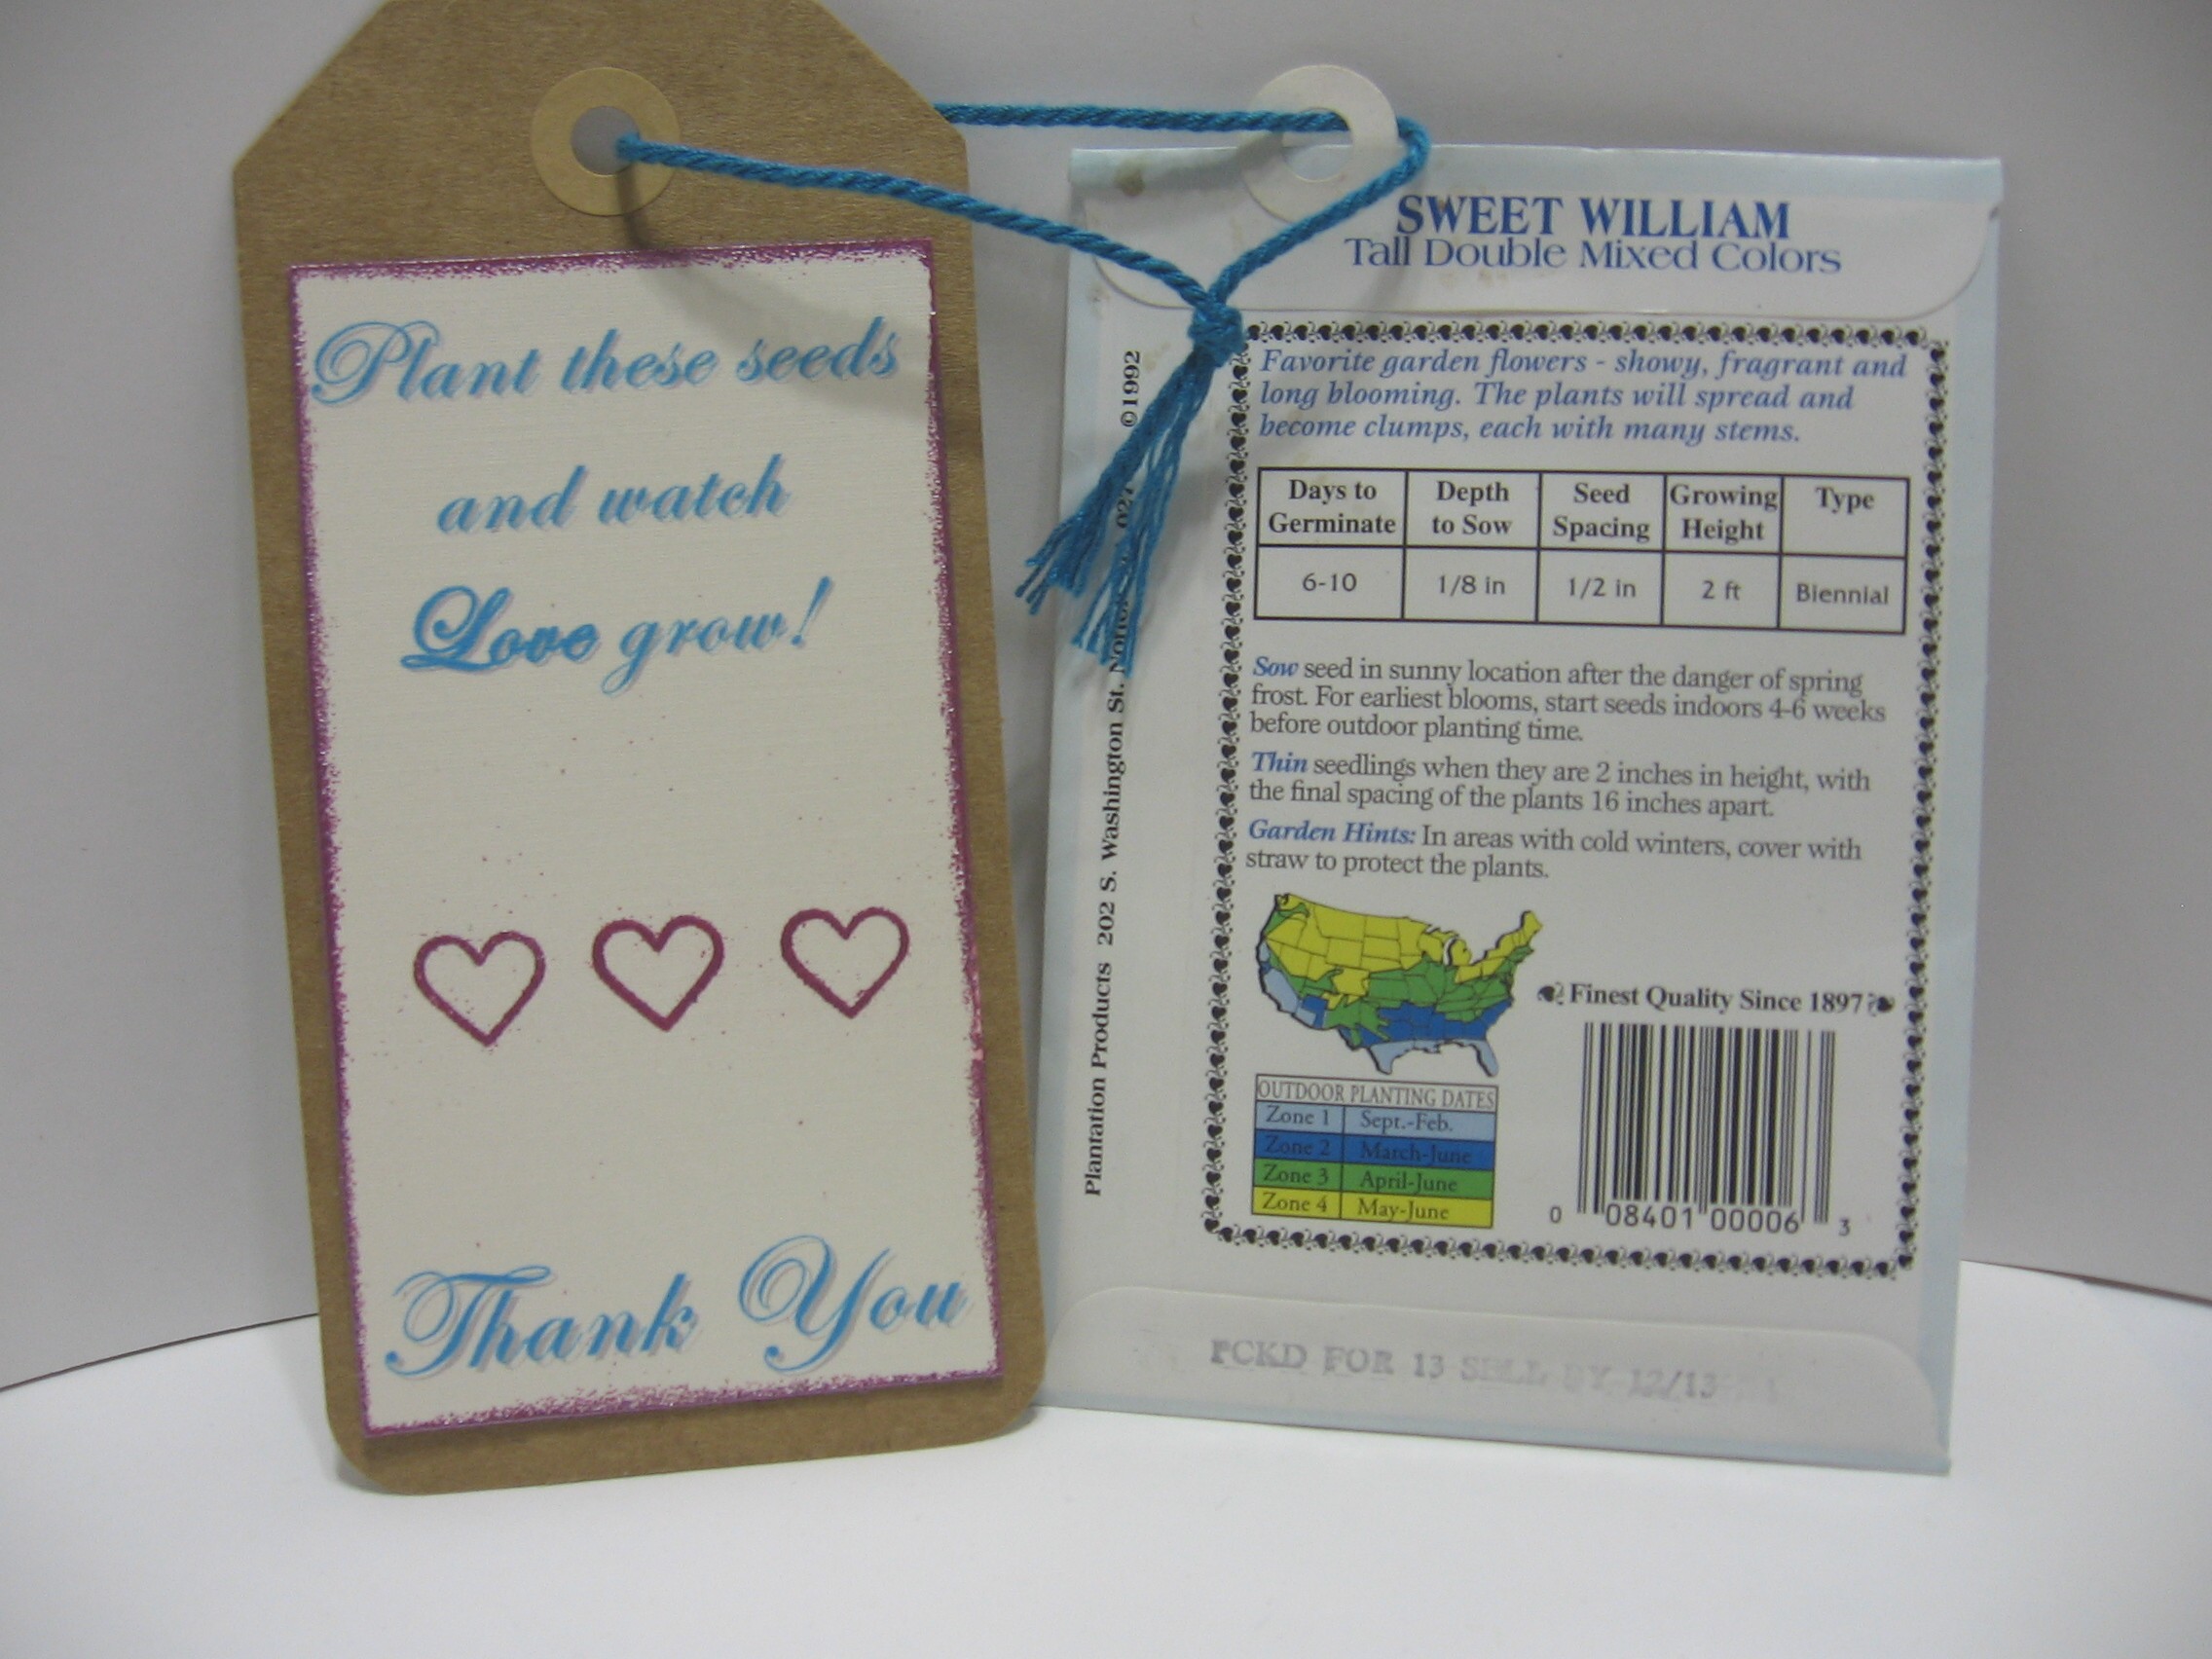
Final Thoughts
These weren’t difficult to make, but they were time consuming because of all the details. I tried to make each one unique but also alike in some way.
One tip I can offer for those working on similar large projects is to pick one or two central themes and build around them. For this project the flower stamp in a circle was integral to everything! I picked three basic colors: burgundy, green, and blue – and made sure to incorporate them into each design in slightly different places.
The best part for me was they actually look quite lovely, in spite of the rough home made quality they inevitably had. The best part for my friend was that they were one of a kind and fit in perfectly with her laid back, small wedding.
In the end, she realized that I was doing it for myself as much as for her because her wedding was so small, she didn’t even have bridesmaids or anything. Now, I’m a part of her wedding for all time.
Thanks for reading!
-Leann


