Be Kind, Rewind…Then Keep Going

/*! elementor – v3.11.1 – 15-02-2023 */
.elementor-widget-image{text-align:center}.elementor-widget-image a{display:inline-block}.elementor-widget-image a img[src$=”.svg”]{width:48px}.elementor-widget-image img{vertical-align:middle;display:inline-block}

Funky Chicken Pirate, pencil sketch by Leann Moore

My new year’s resolution this year was to be more kind, especially to myself.

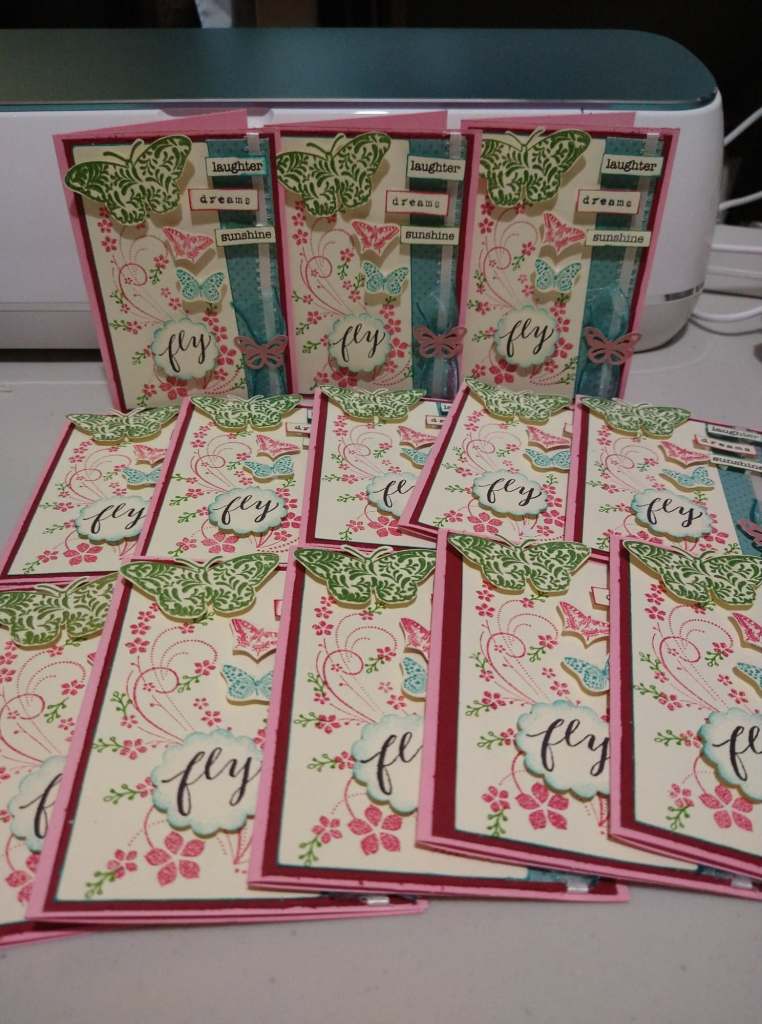
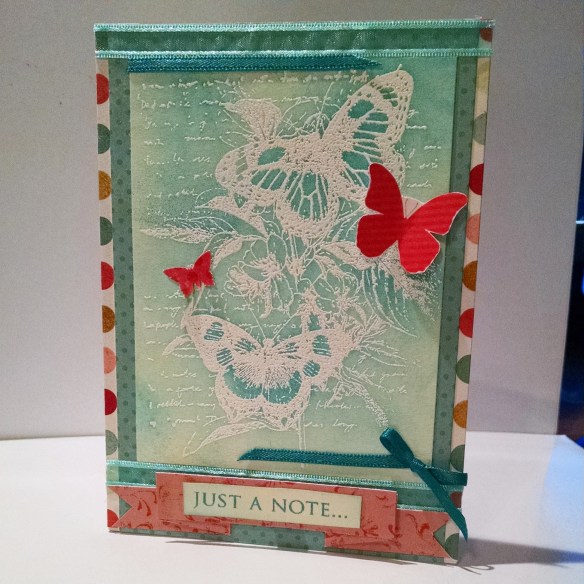
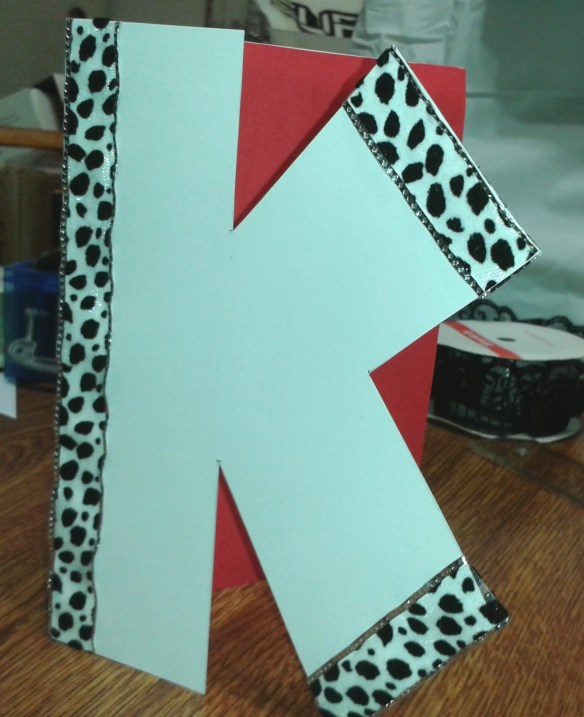
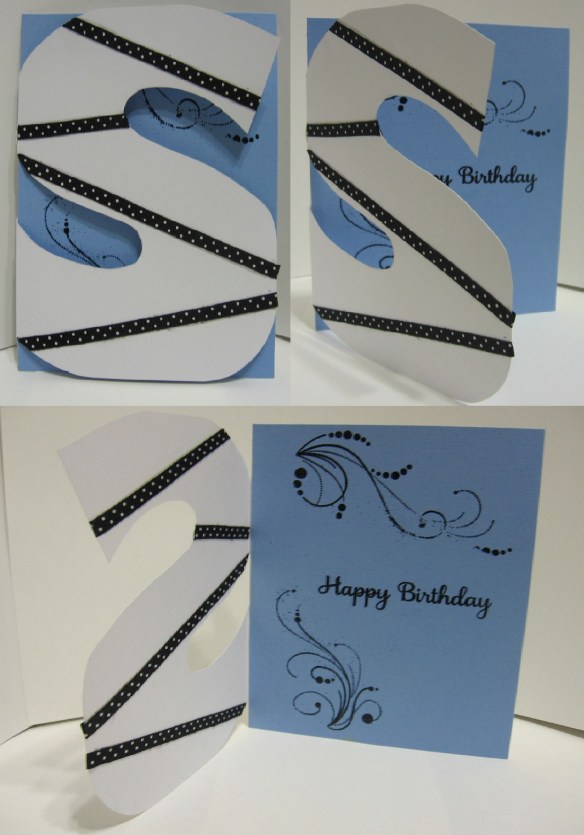
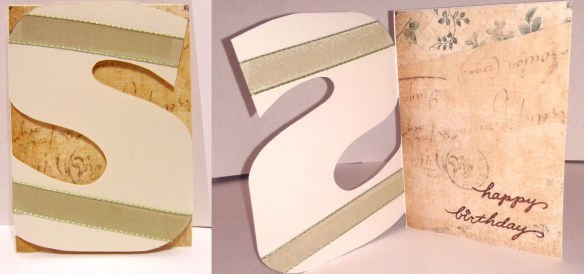
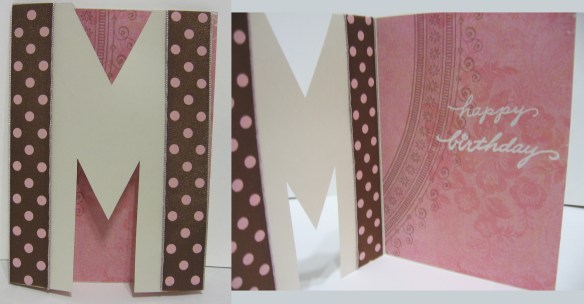
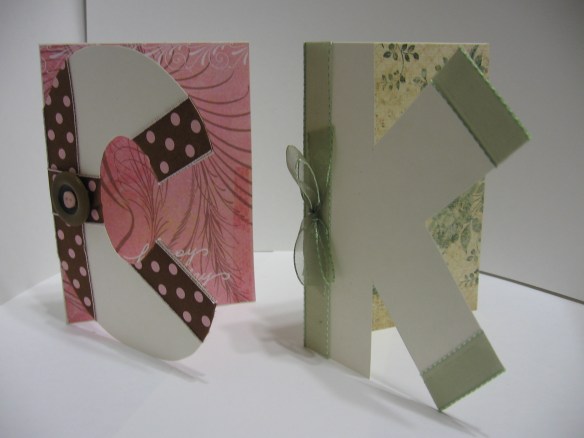
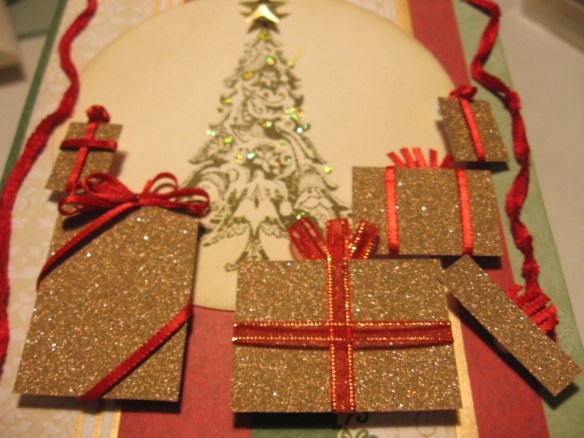
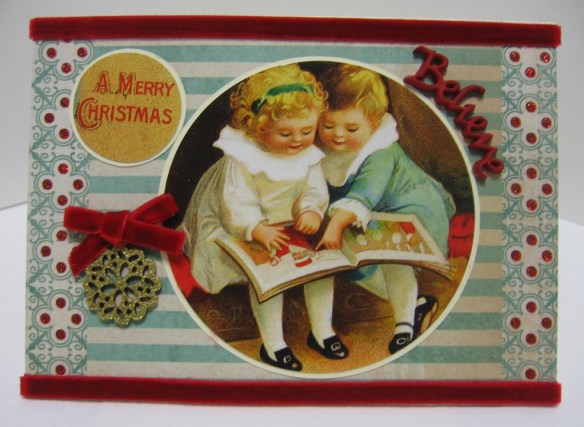
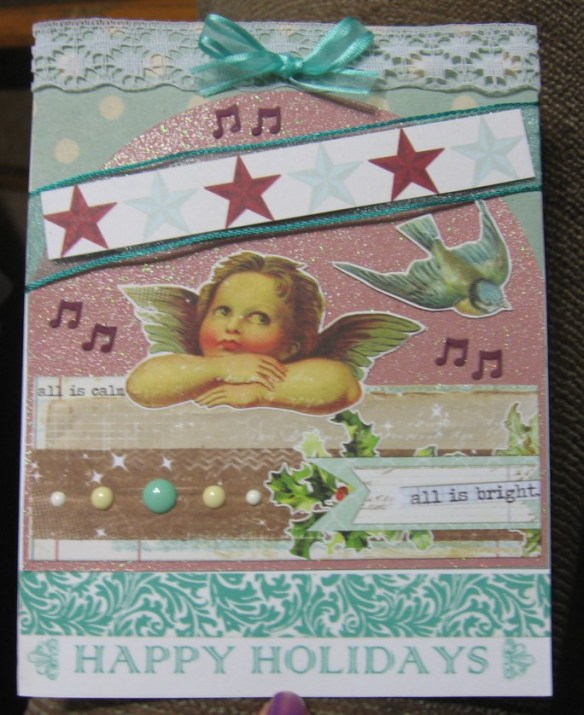
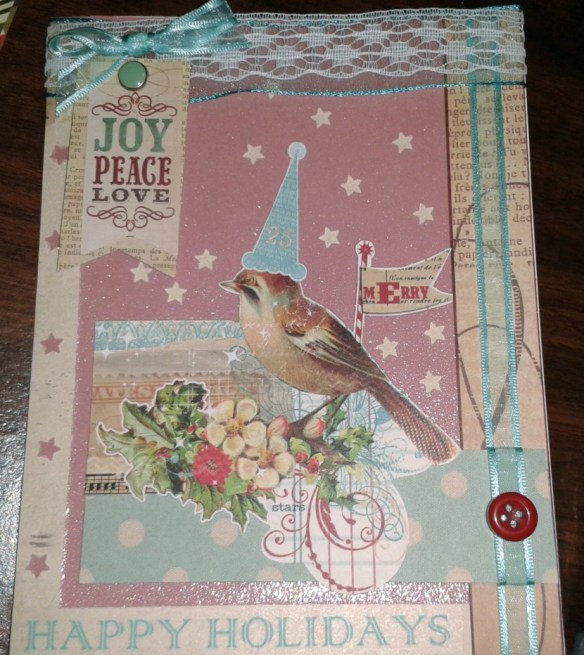
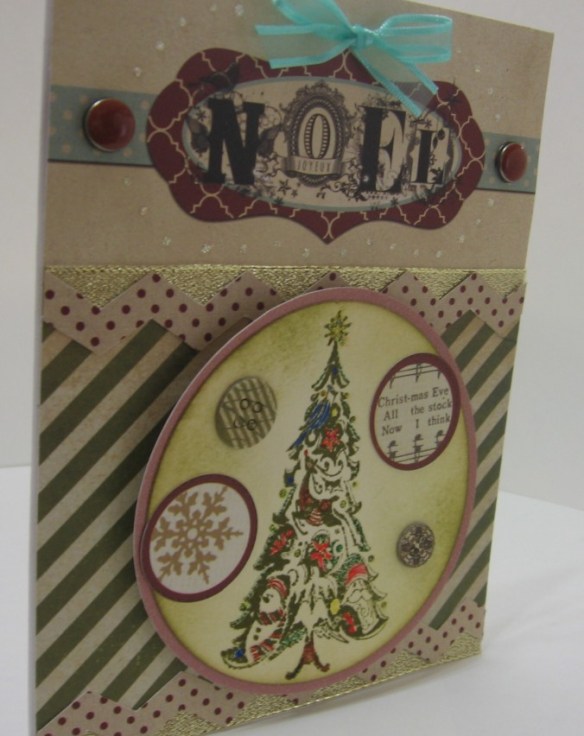
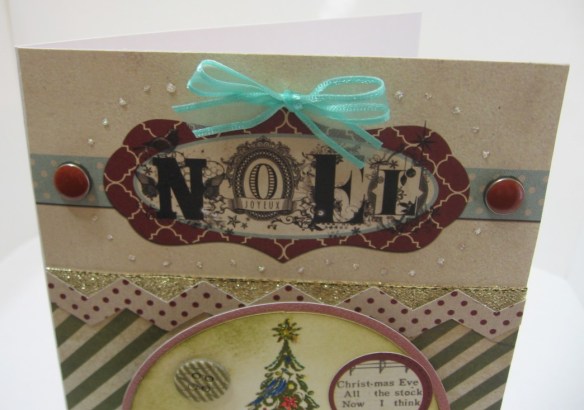
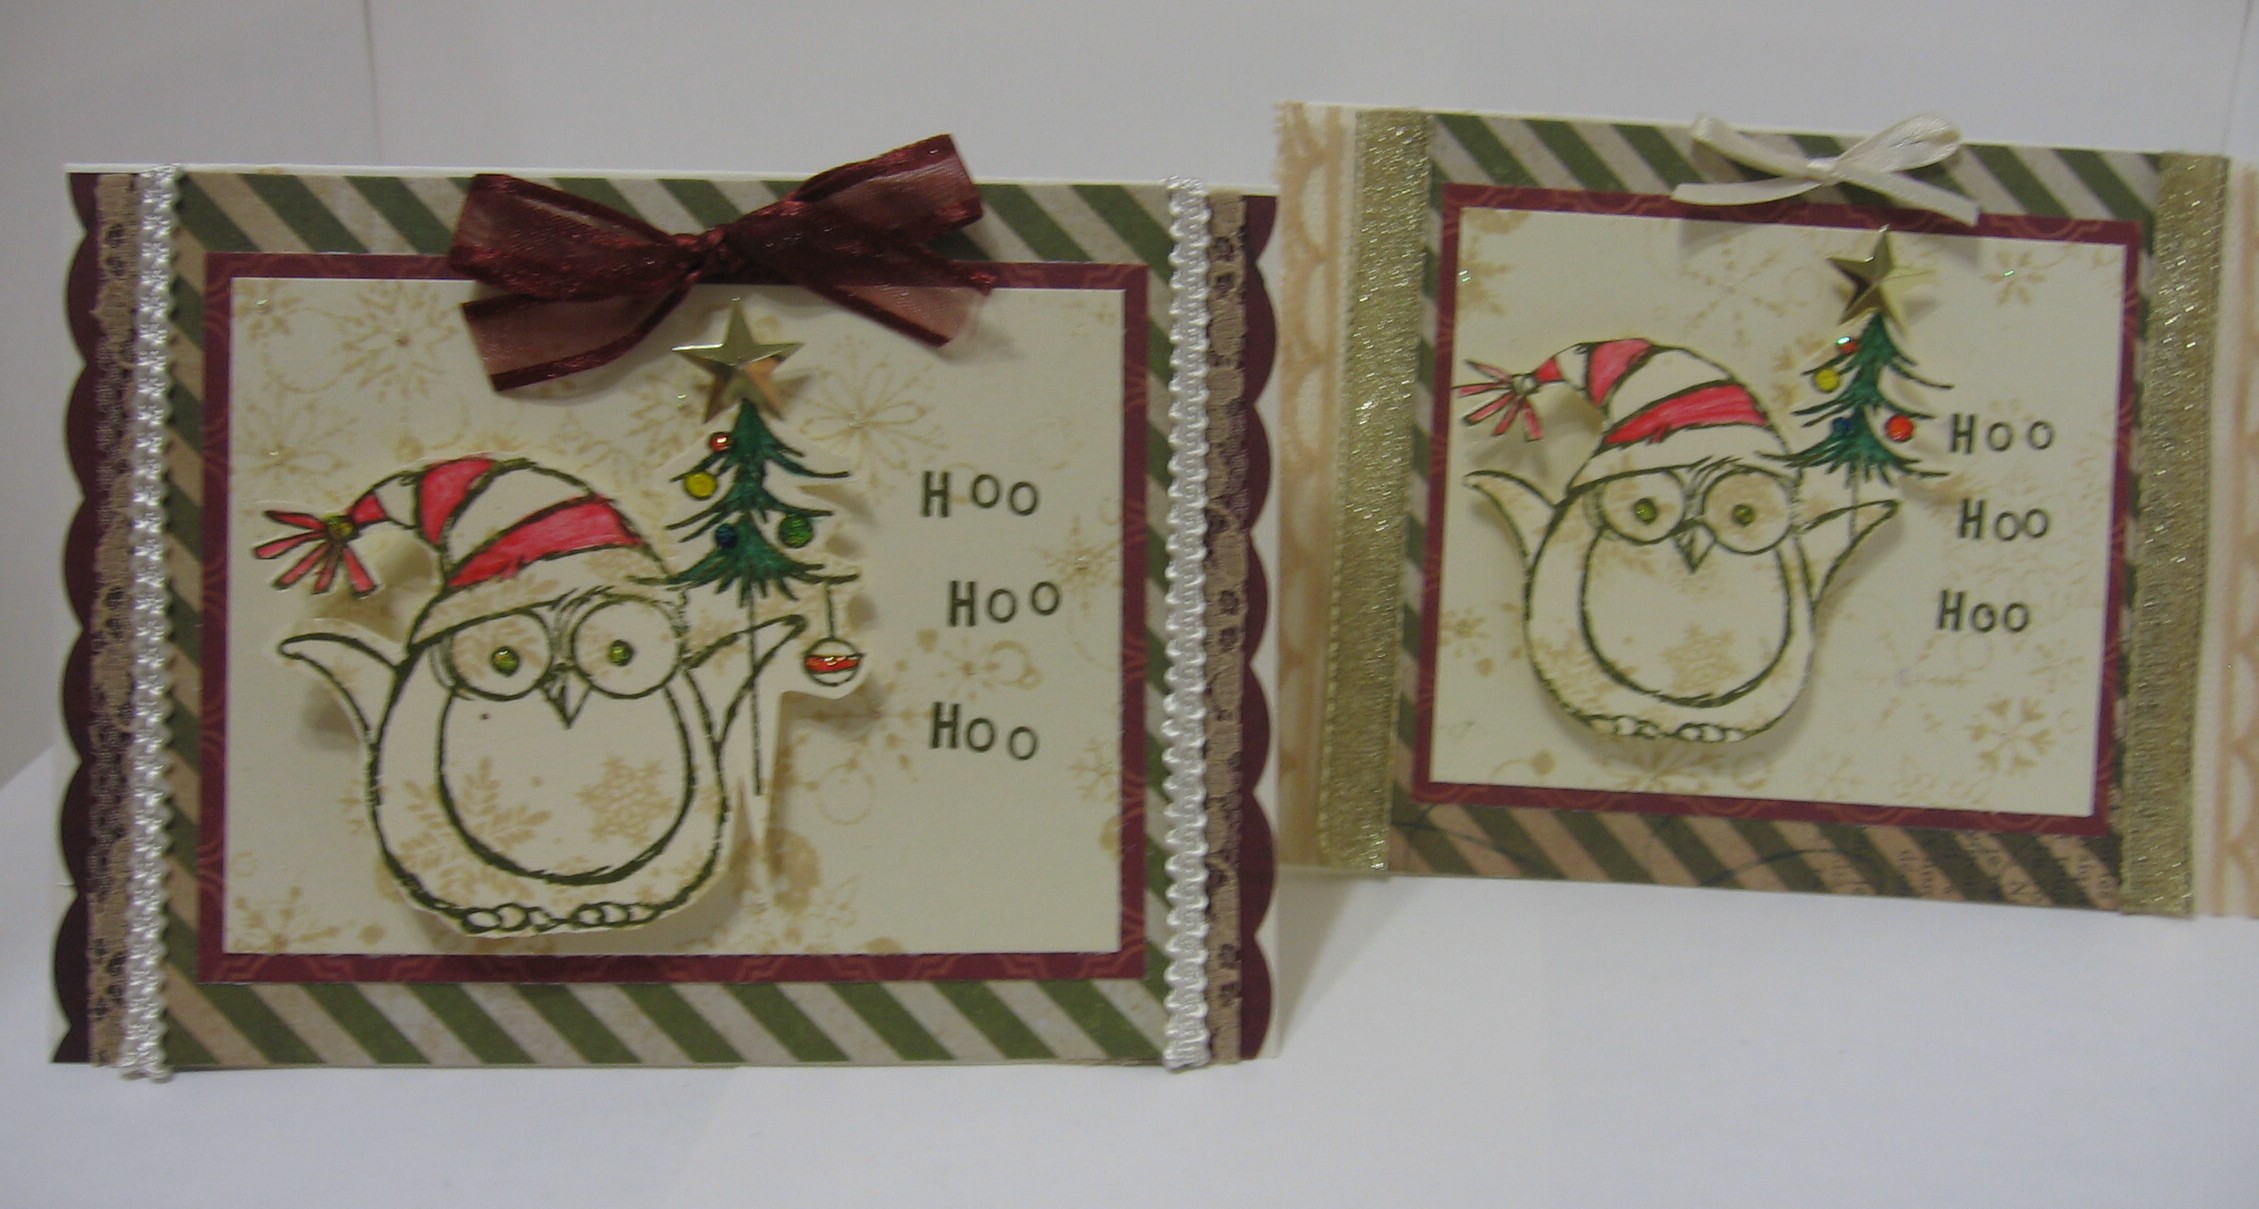
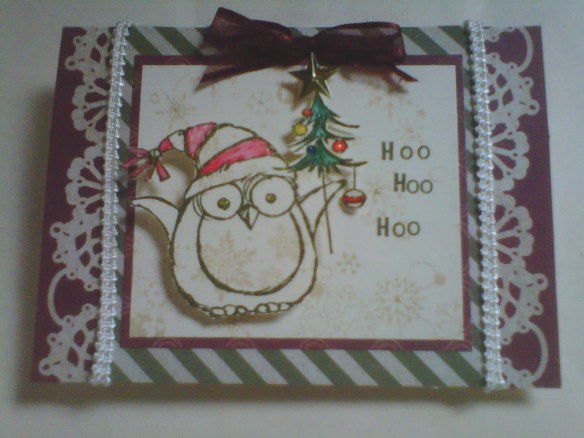
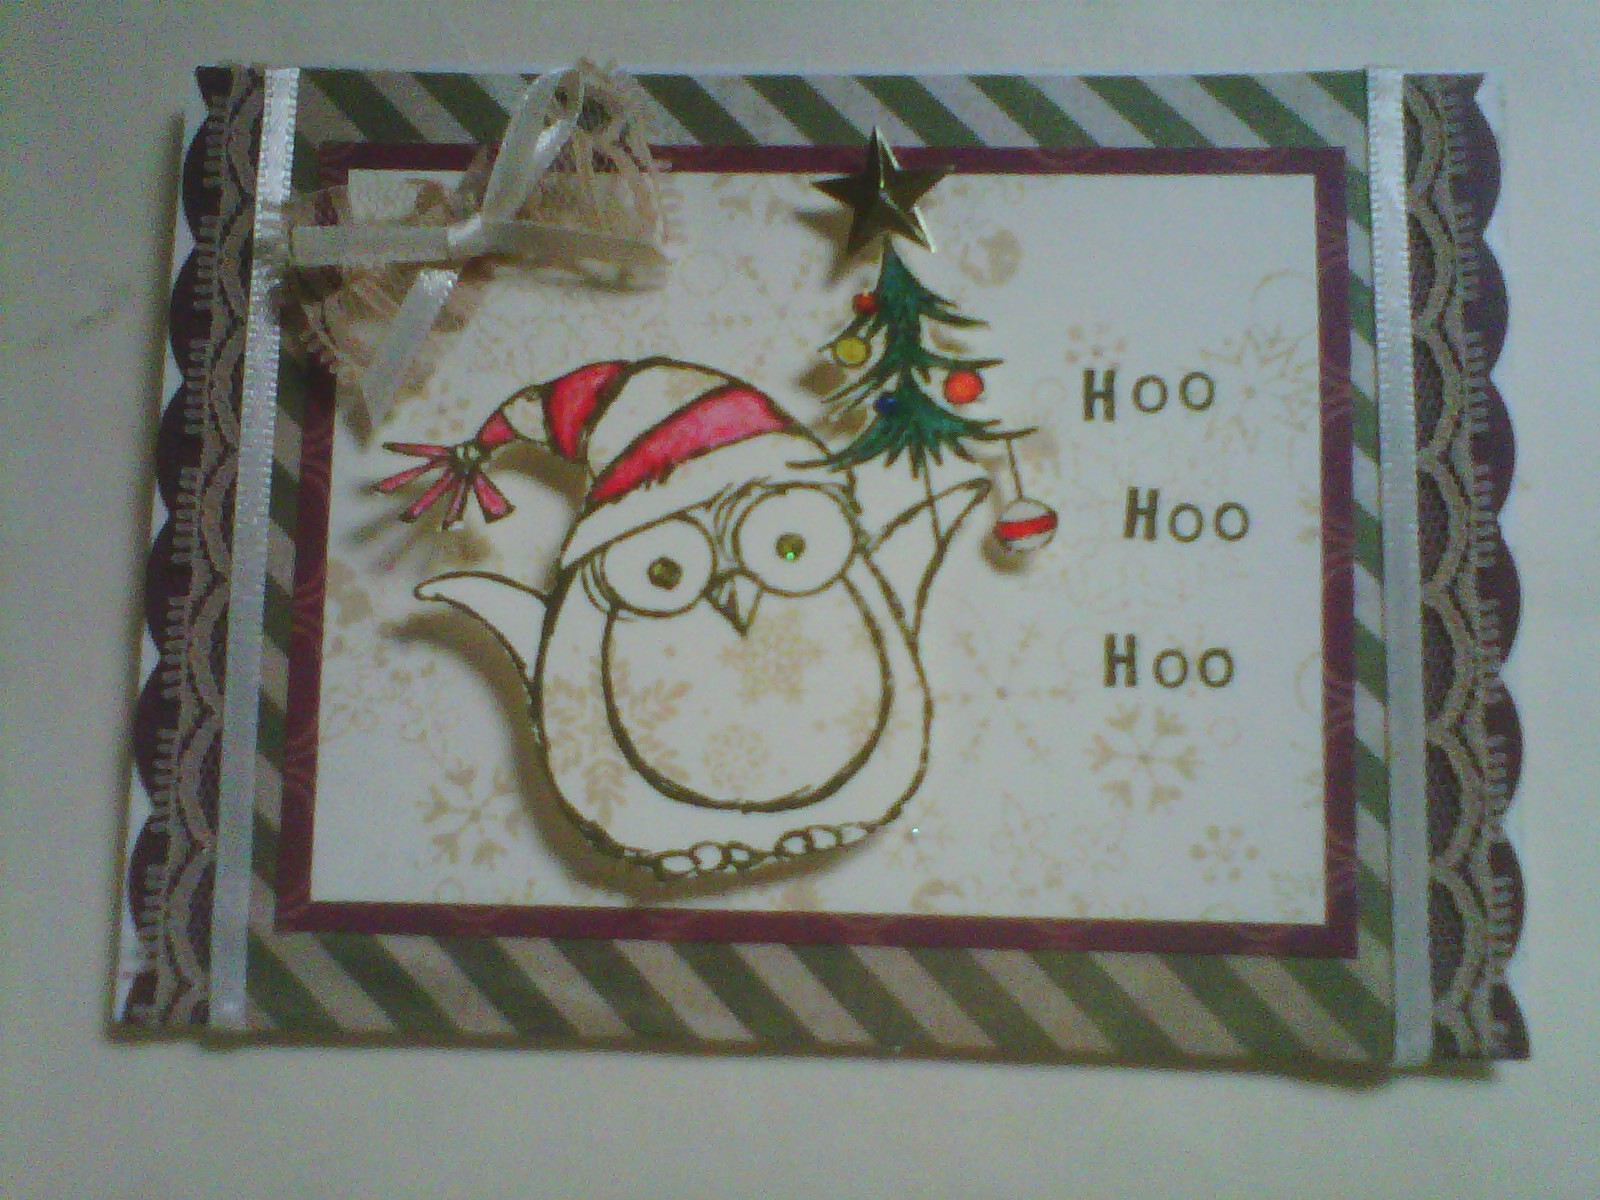
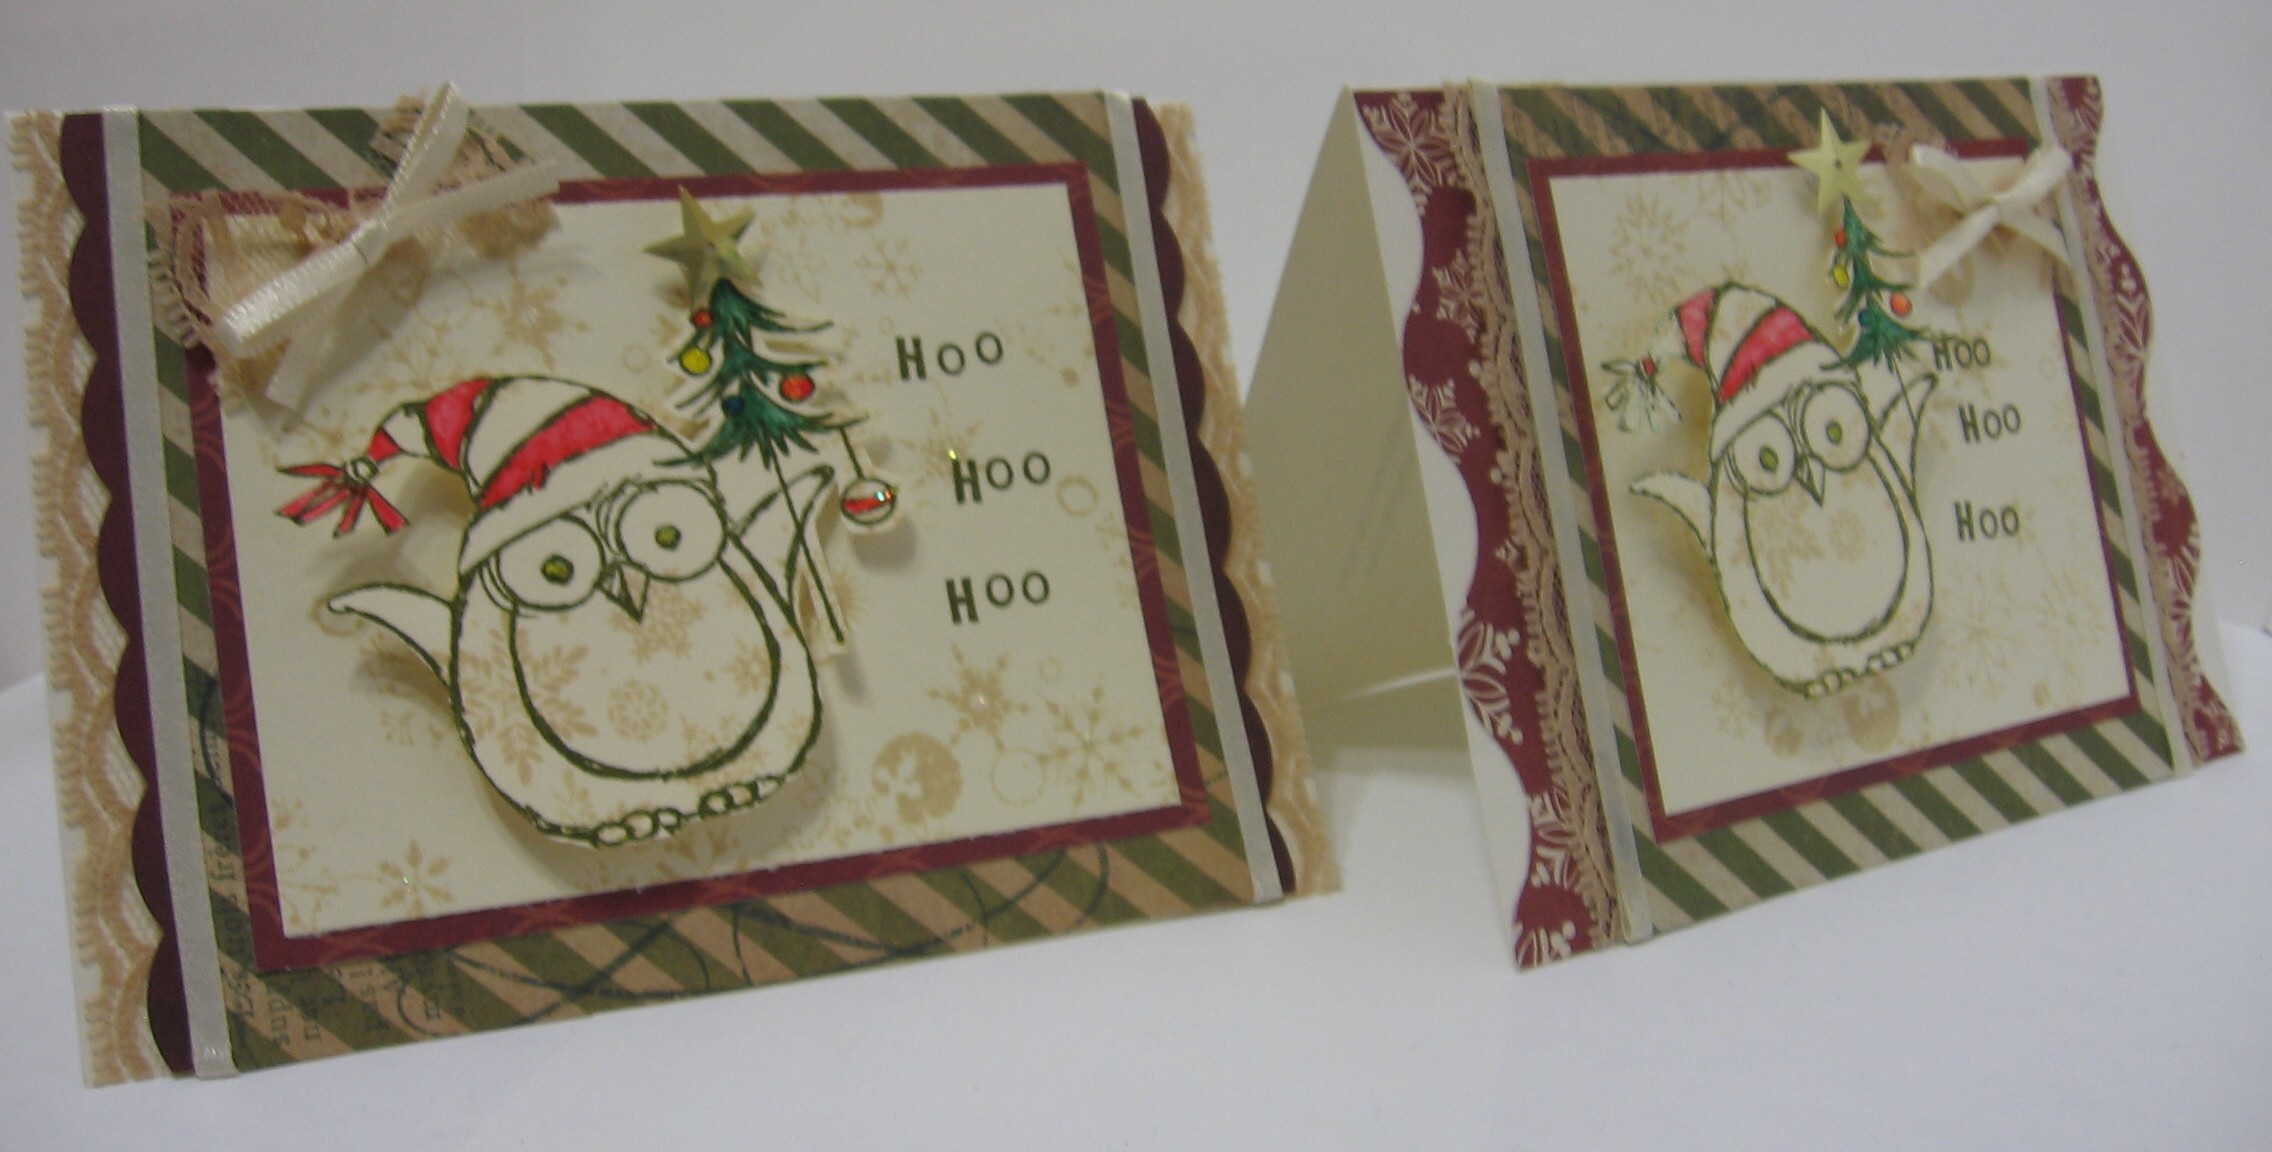
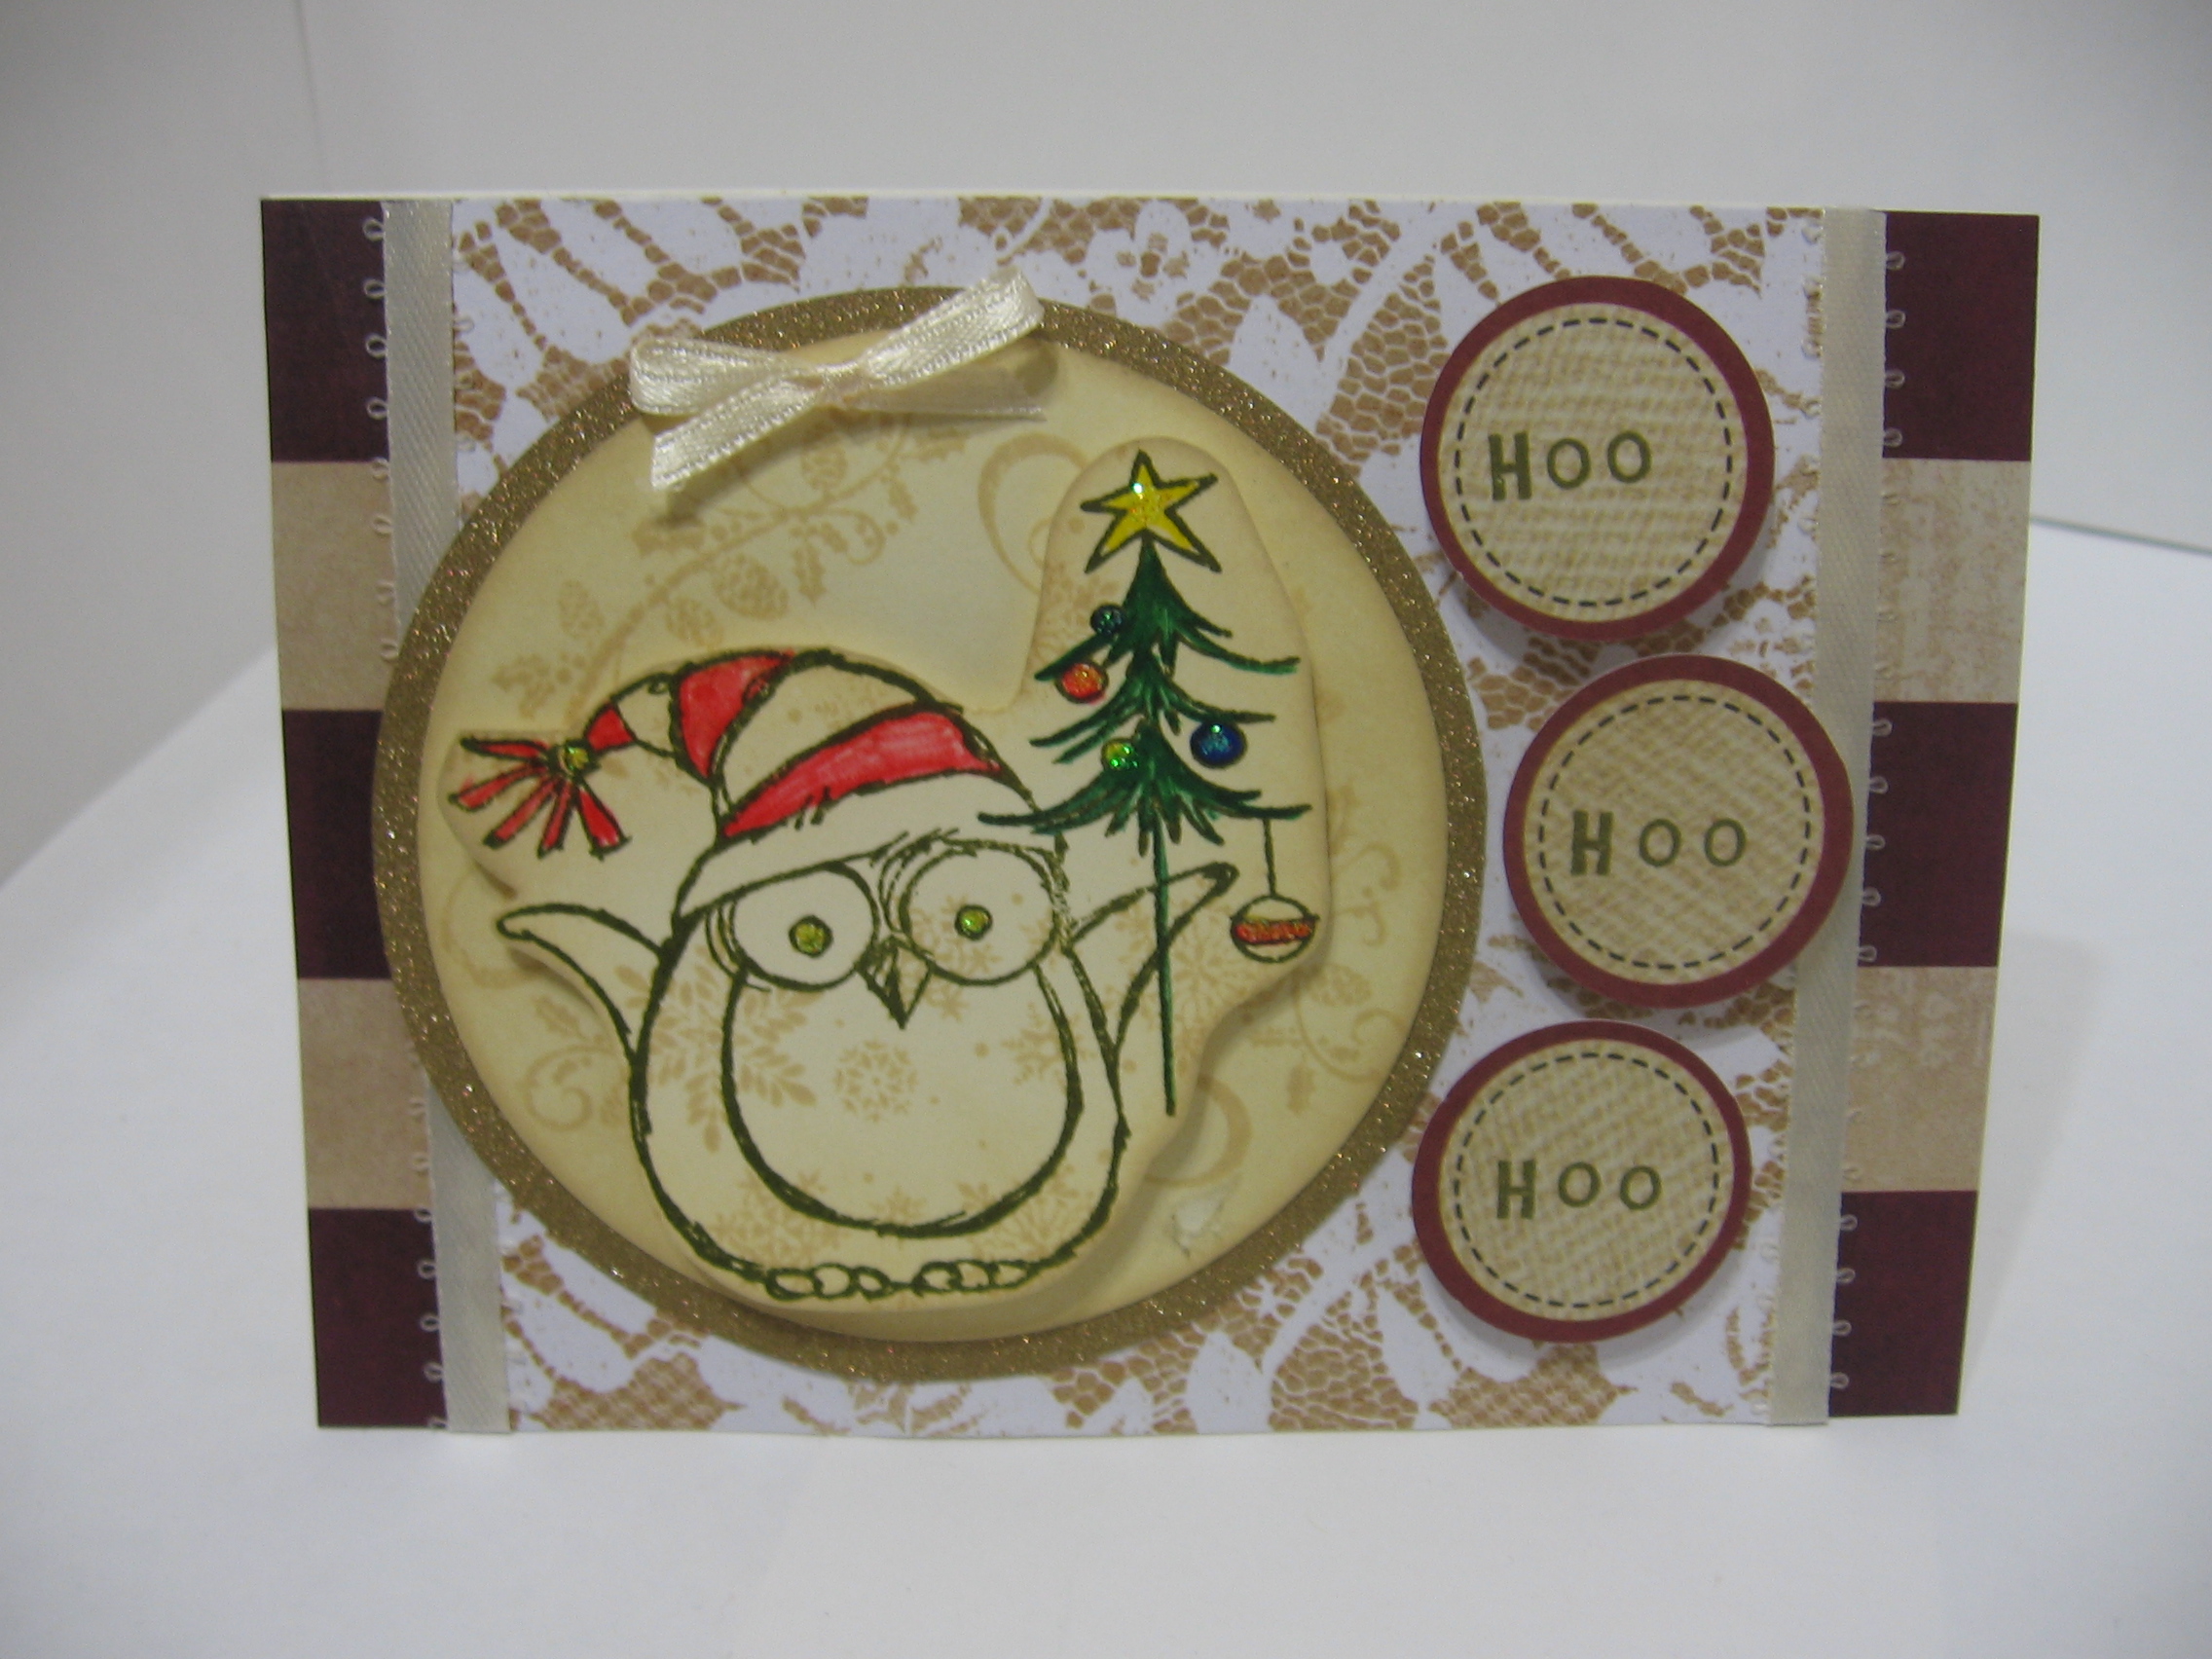
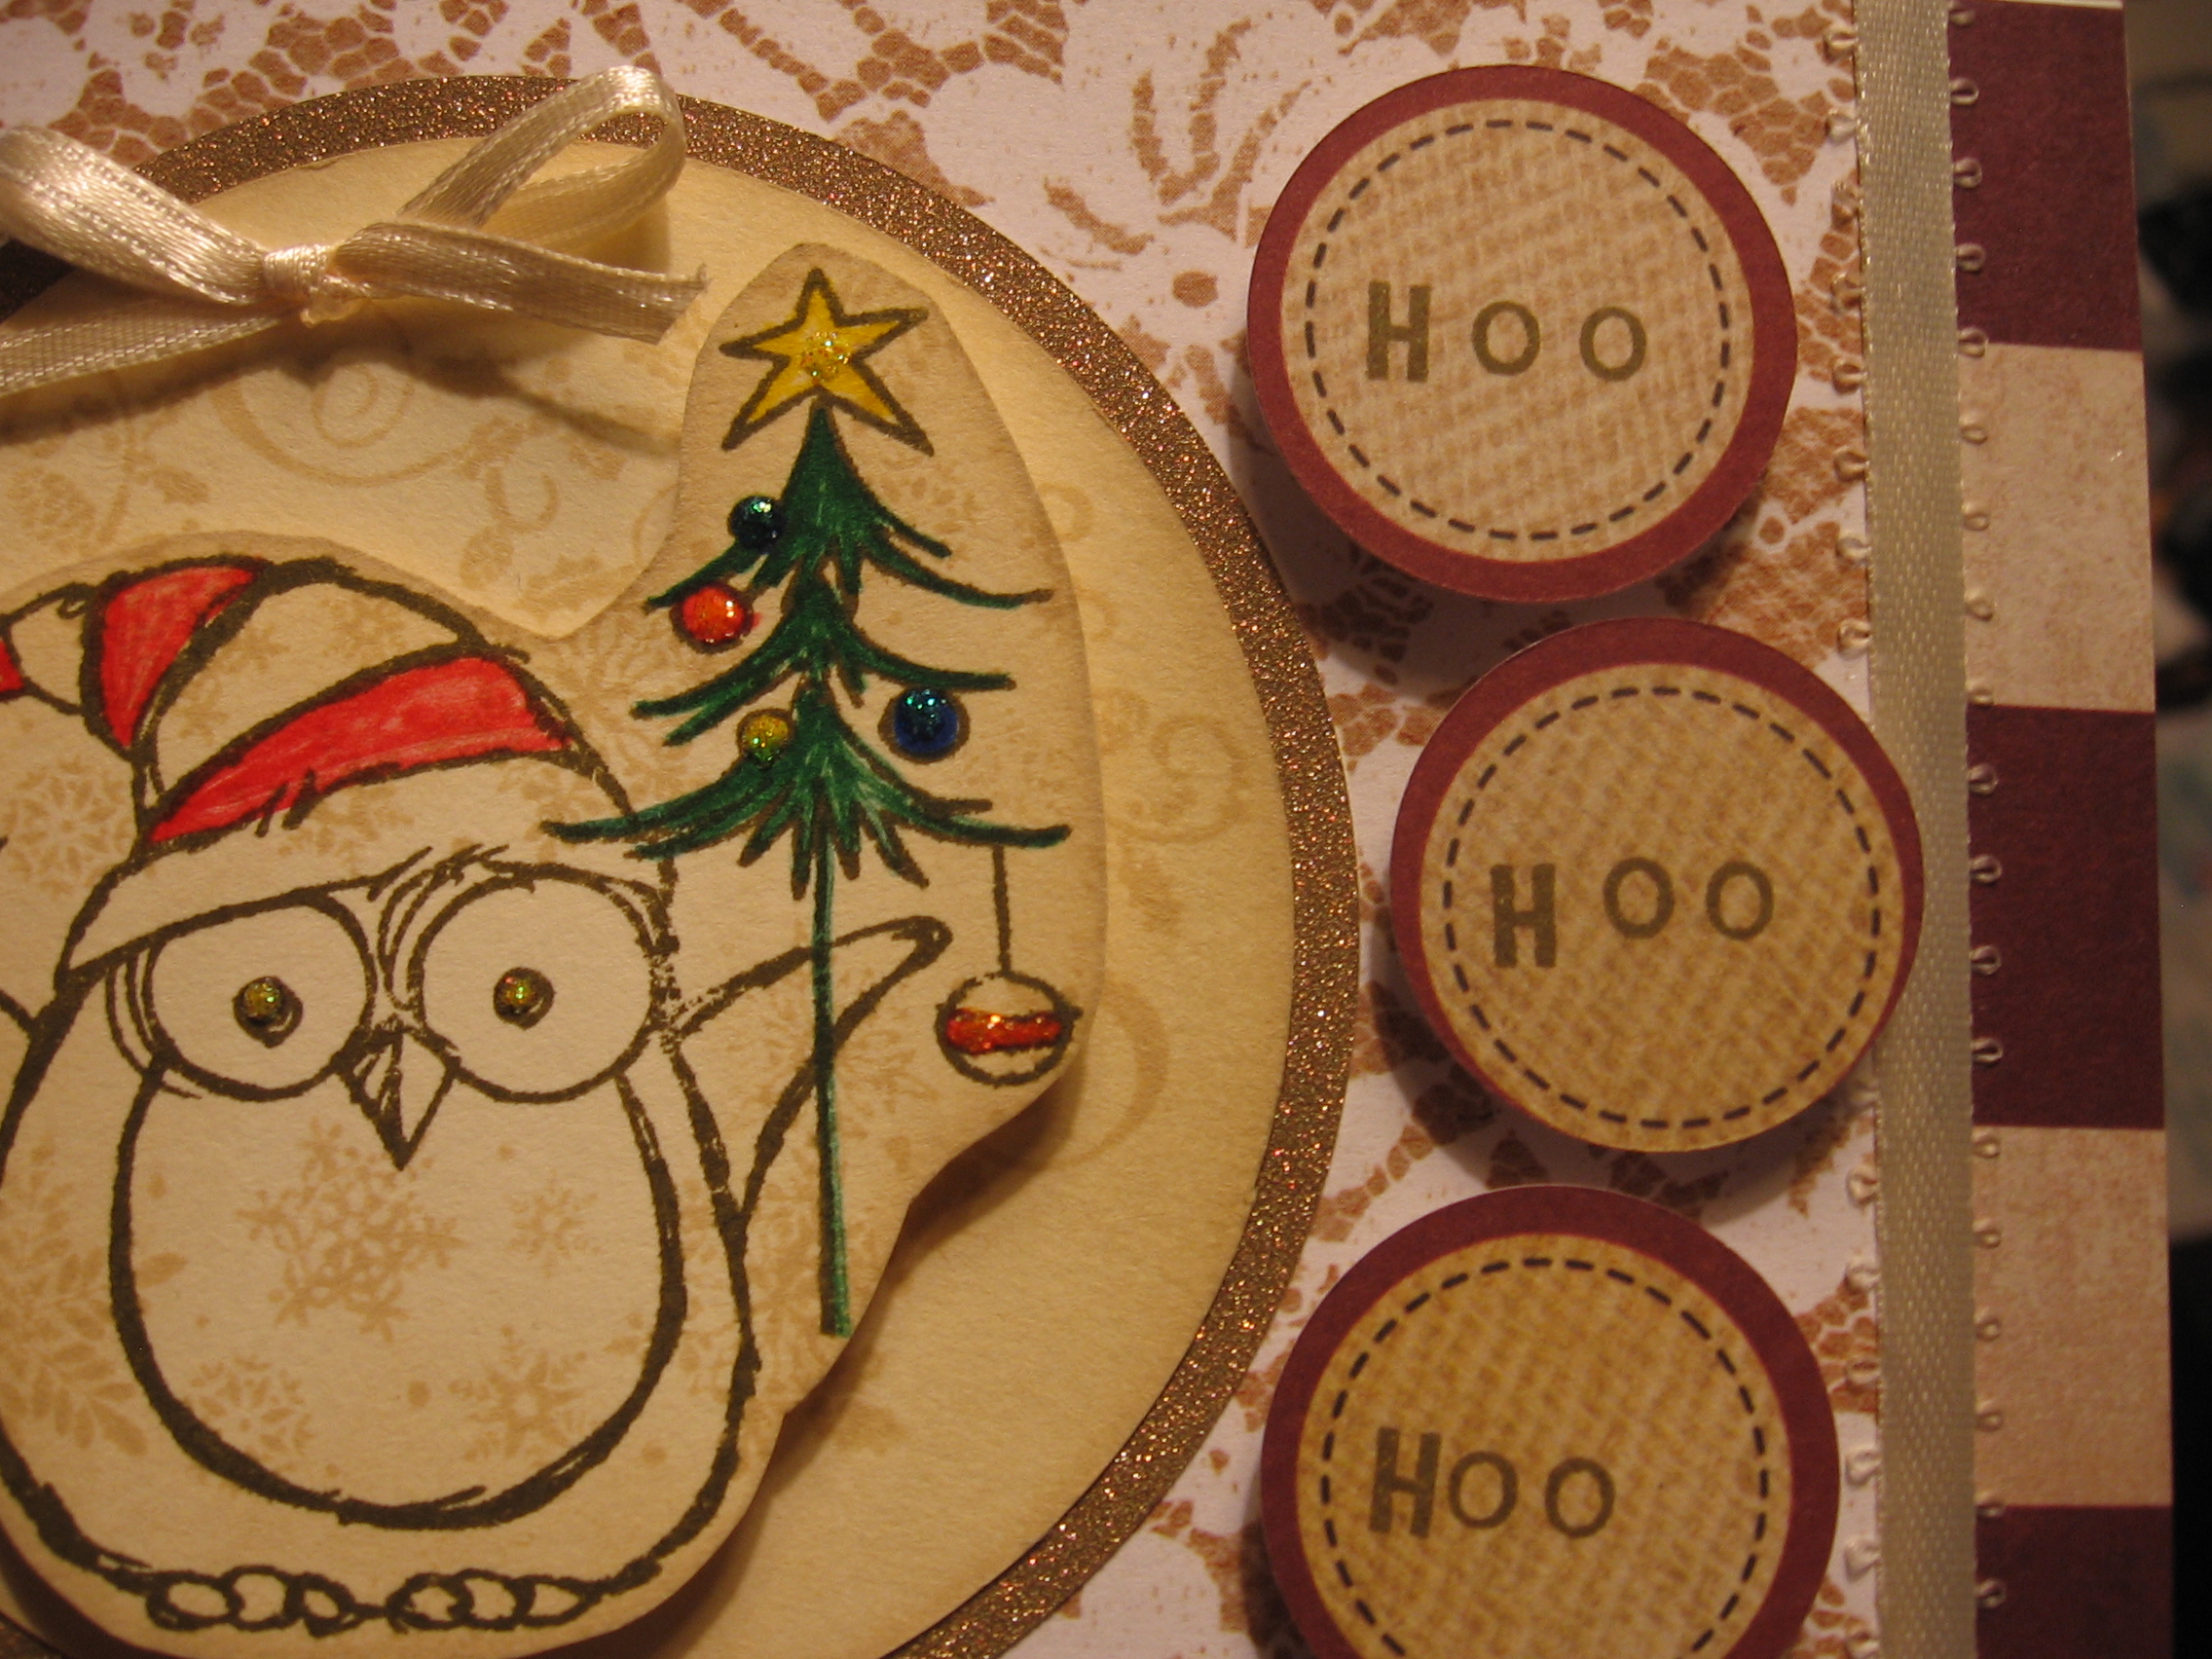
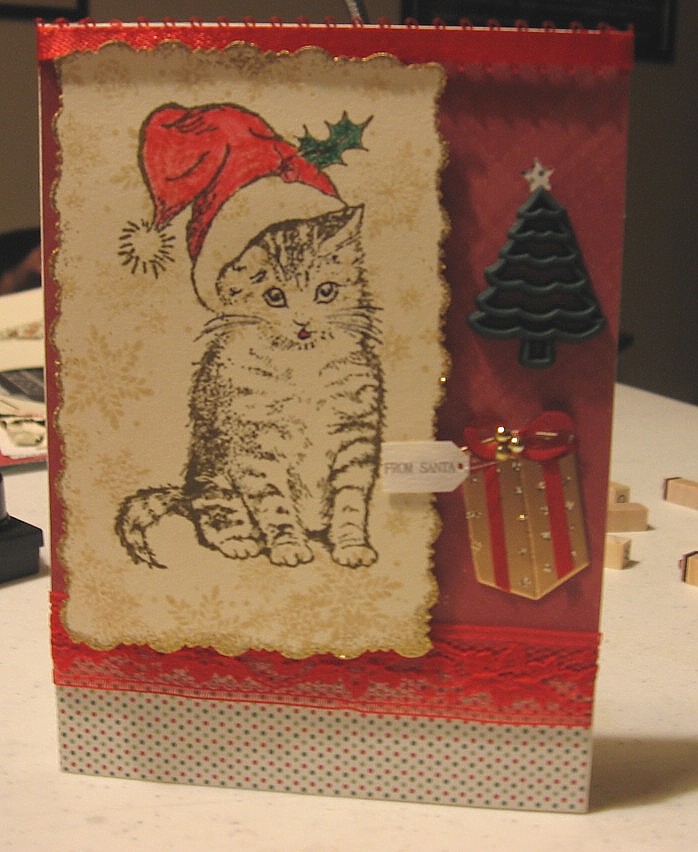
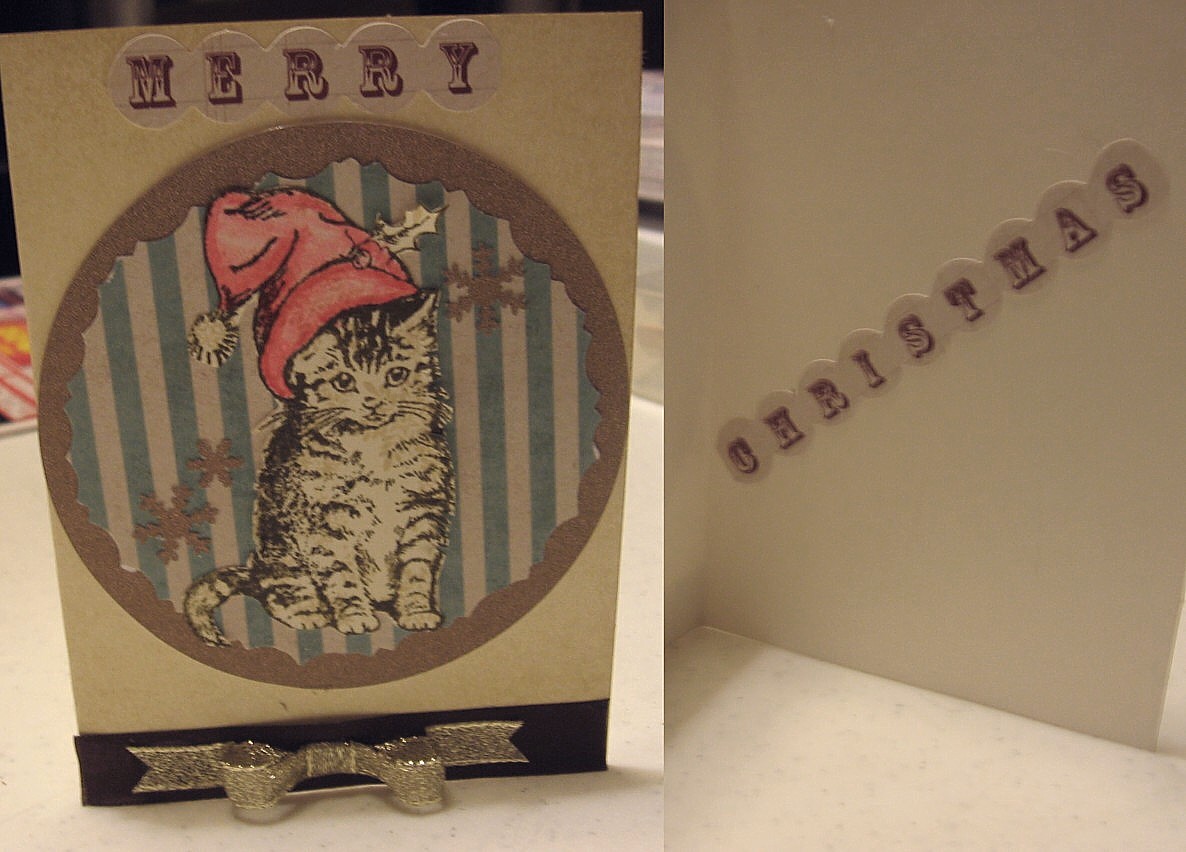
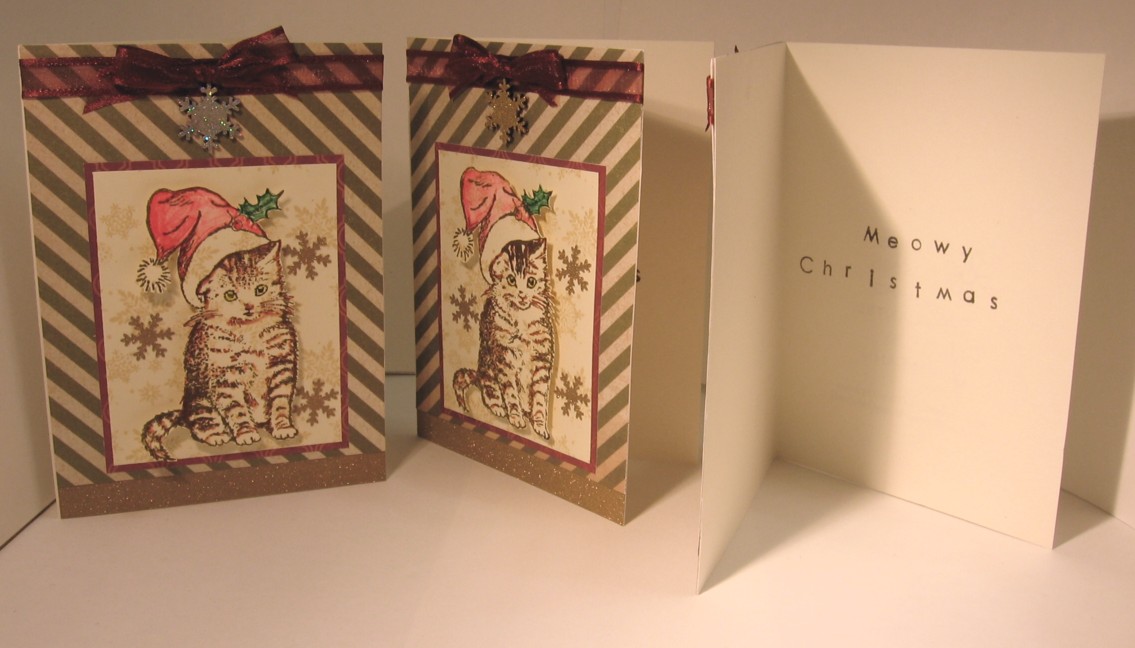
When I first embarked on this current journey of developing my brand, if you can call it that, my life looked very different. I was living in a different place with more space and more control over my environment. I had an old blog without any particular focus that I hadn’t published to in years. I had a small amount of “success” and more longevity with papercrafts and card making than other crafty endeavors I had pursued, so I thought, “Why not have a website with that as the focus?” I knew that my other talents would find a home here as well (writing, graphic design, etc.), but the concept of this website was built around the aesthetic of my card making. 

Now that I don’t have as much space to physically create, I have shifted to the digital world. I have been teaching myself Adobe Illustrator and learning about modern web design and social media marketing for work, which helps with certain aspects of my job as well as my personal projects.

But at the end of the day, writing has always been the end goal. Sometimes I forget that I need to practice it, just like any other skill. 

To the three or four people who have liked my blog posts and/or commented: Thank you for the support as I figure out what the heck I’m doing here. I hope that even though my path meanders along to its own tune, you will be entertained, connected, and maybe even inspired someday. 

I will get back to crafting and posting about it. And if I don’t, well, I will forgive myself and move on because that is how I’ve decided to be kind to myself and help myself heal. 

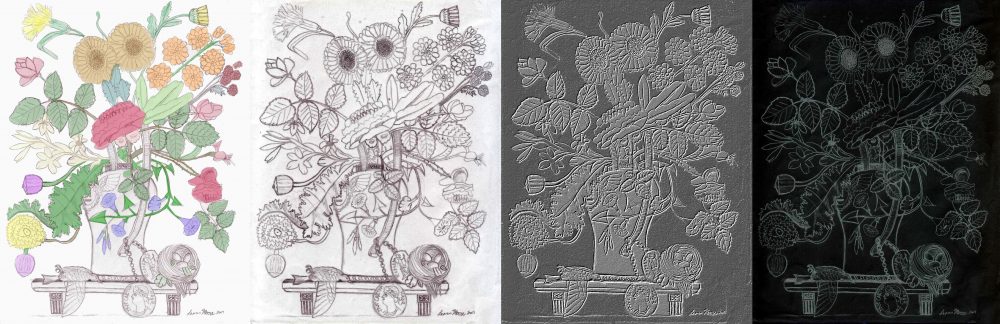
*note: I drew the sketch above sometime in the late 1990s/early 2000s

“Being OK” during a Pandemic

The quarantine has been difficult for most of us…financially, emotionally, psychologically… And it’s easy to lose hope when we literally have no idea how much longer it will go on. I often feel completely disoriented to what my life was before and I’m worried that going back “to normal” is going to be a painful process. In between bouts of total apathy and something akin to self motivation, I feel sad, lonely, hopeless, worthless, etc. I don’t think that’s uncommon, even during normal times. But even through all the negativity and hardship, I still manage to stay afloat and find pleasure in a few things. And dare I say it–have faith that things will be OK.

Image by Anja from Pixabay


When I say “Be OK,” I mean it in a purely objective way–In the sense that balance will eventually be restored in the world. And even if I suffer hardship, or things don’t go the way I want, I have to believe that I can adapt to survive and still find some joy in the world. Call me overly optimistic, but it’s the only way I can keep my head and anxiety in check. It’s like, if I didn’t have faith in my future being OK somehow, there wouldn’t be much point to enduring the hardships and suffering of the present.


What I also mean by “Being OK” is related to the Buddhist idea that if you can do something about a problem, then do it, and no need to worry. If there is nothing you can do, then do that, and no need to worry either. The idea is to remain in the present moment instead of stressing out about things that may or may not happen, or things that you literally have no control over, because these kinds of minds only lead to suffering.


My worldview is generally pretty positive, in spite of everything. When I created Sowing Crafty Seeds as my brand name for creative projects, I specifically wanted something that evoked ideas of love, positivity, and community/connectivity.  But like me, it also needed to be down to earth.

Image by ArtTower from Pixabay


The first stamped cards I made (that were any good, in any case) had flowers and butterflies on them. At the time, I think I was inspired by historic botanical illustration, much of which was done by women. Something about the whole thing clicked and I continued in the direction of what I like to call “vintage garden.” Anyone who knows me should understand how outside the norm that was for me, a former punk goth chick who still wears mostly black to this day. It’s what I feel most comfortable in on the outside. But on the inside, apparently, I resemble a Victorian English garden during tea time.


The garden theme lent itself to the notion that I was growing my creativity to share it with others, to spread joy and express a part of myself that can’t easily be put into words. Eventually, I started to envision my creative ideas as seeds and each finished project as the resulting flowers. 

Thank you for reading. It’ll be OK.

-Leann

I finally got a Cricut Maker!

Which is why you see one in the photo. However, I had already started putting together this new card design before I bought it.

Quarantine has brought about A LOT of unexpected things, like losing track of days and having too much time with nowhere to go.

I felt it was high time to dust off the old craft supplies and create something new and pretty. I hope you enjoy them as much as I did making them….

And now for some shameless self-promotion: These are original, 100% handmade, inspirational greeting cards for any occasion (blank inside). $5 each / discounts for bulk orders, tbd / *Local* delivery or pick-up available. (*Anything within reasonable distance of Ontario/Upland, California)

Please, message me if interested. 12 cards available.

Thanks for reading!

-Leann

Greeting Cards on a Budget

I haven’t been able to build up much inventory over the past few months with moving and focusing on the job search and whatnot. Luckily, my friends still ask to buy my cards, so I’m able to stay inspired.  This has lead me down two roads.

wpid-wp-1407211076867.jpeg

The first road is making crafts on a budget, which is essentially what I have always done. Not only is this due to the fact that I have more time to craft when I’m out of work but also because even when I had a good job I couldn’t justify spending money on a Cricut or something like that. So when I started making cards last year I was making them from scratch. Sure I bought embellishments and stuff, but my cards took on a certain style simply because of the resources I had available (and what little techniques I knew back then).  Over the past year, I have spent a lot of time reading crafty blogs, watching YouTube videos, etc., and I still feel like a beginner at times. The latest technique that I learned is showcased in these cards: I love it! What you do is emboss your stamped image with clear or light colored powder and then use distress ink over the image in layers. The embossed image resists the ink and you get some awesome color effects this way.

wpid-wp-1407211090670.jpeg

The other road I mentioned above is one of buying greeting cards on a budget. My friend Maria was looking for cheap simple thank you cards that she could send out to a whole bunch of people. Since my cards aren’t “cheap” she didn’t think to ask me. But it made me realize that I should work on some simpler designs that use less materials and take less time so that I can offer them for half my normal price and not feel like I’m cheating myself.  So these are the first batch. Thank you Maria for the insight and inspiration:

wpid-wp-1407211928521.jpeg

 Thanks for reading!

– Leann

How It All Began

While recently packing to move, I found a box of old mementos that belonged to my mom. Family photographs wanting to escape the confines of their albums and her tidy paper doll collection were amid the gentle chaos. There were also greeting cards she had saved over the years and a few in particular that she had recovered from my great-grandmother after she passed away.  These cards addressed to the woman I affectionately called “Granny” were actually ones I had made when I was quite young.  I had nearly forgotten my early adventures in paper crafting until that moment.  Individual letters, sun beams, flowers, and blades of grass – all hand cut from construction paper with the slight imperfections of safety scissors.  I hand wrote my own short poems inside and always signed them “Love, Leann” in my newly perfected script.

Fast forward to last year.  I decided to throw together a birthday card for my friend “K”.  If you knew her, you would understand that this card is totally her (except it really should be pink paper instead of red):

monogramK

Between taking this photo and handing her the card, I added some swirly embellishments on the inside using shiny black embossing powder and a stamp, which you can see in other cards below.  It’s rather plain, compared to what I make now, but it inspired a whole line of these monogrammed cards.

MongrammedS_black&blue_inside
monogramS_green&brown_combined

They served as a stepping stone to what I currently do, gave me a chance to explore some of the craft supplies I had been stockpiling (forget “Hoarders”, my reality rescue show will be called “Craft Addicts”), and was a cool way for me to give my friends personalized gifts on the cheap.

monogramM_brown&pink combined

At this point, I remembered Etsy and opened my own shop. I planned to sell custom, made to order, monogrammed cards in the vein of the ones above.  I made one sale to a friend who had moved out of state:

monogramC_K

Looking back, I can really see the difference between when I started out last year and these two.  It gave me a sense of accomplishment that I hadn’t had in a long time.  Even though these were the last monogrammed cards I made, they were the inspiration for continuing in the direction I am headed now.

Lessons learned: Sometimes your new ideas are actually your old ones, just grown up.  Also, practice might not make perfect, but you will definitely improve over time.

That’s all for now. Thanks for reading!
-Leann

Christmas Cards 2013, part 3

In part one, I shared how one stamp could be conceptualized differently by several people and in part two, I demonstrated how one of my stamp concepts changed and improved over time.  In this, the final Christmas 2013 post, I give you several different cards I made sporadically throughout the season.

xmastree&presents (4)x

I was inspired by a lot of amazing handmade cards on websites like Pinterest.  In particular, I wanted to emulate ones that used 3D effects such as presents that look like real boxes.  I came up with this:

I would have liked the presents to look more like boxes but I think they came out pretty good.  The card as a whole didn’t have the finished look I wanted, but not bad for a first attempt.
xmastree&presents (2)x

The downside of a project like this was the time it took to make each little box.  I actually got several orders for Christmas cards (thank you everyone who bought them!) and I needed to focus on the designs that I could duplicate easily.

However, I was also inspired by some Victorian postcards I found last year and I designed a few more one of a kind cards.

victorian2 (1)x

The golden snowflake was a woodcut that I painted and then heat embossed.

Victorian1x
victorian3 (3)x

By this point, I felt pretty confident in what I wanted the finished products to look like. I revisited the Christmas tree stamp from the first card and gave it a new look.

victorian4x
victorian4 (2)x

I had the opportunity to make A LOT of cards in a short time and therefore improve my skills through practice.  If you look back I think you can see the difference.

Some final thoughts: All of my cards are made by hand, but I do use some designer papers and store bought embellishments.  My goal is to rely less and less on those things.  At the moment, I do not own a Cricut or die cutting machine or anything like that. The cut-out the cherub and the bird with a hat images above were done with scissors.  Yes, it was a pain in the butt – BUT, it was well worth it.

Thanks for reading,

Leann

Christmas Cards 2013, part 2

In my last post, I shared how my friends and I each created a unique card that began with the same stamp.  A great way to spend a Sunday with friends!

However, most of the time I craft alone as I’m sure many of you do.  I’d like to demonstrate how one stamp and a concept can change and improve over time.

Here is the first card I made using my new Owl in a Santa Hat stamp:
hoohoohoo1

As far as techniques go, I used one snowflake stamp with Antique Linen distress ink and overlapped that with the owl stamp in Forest Moss distress ink (although any two inks could work, I think distress inks are more natural looking and easier to blend).  I used some letter block stamps to add “Hoo Hoo Hoo” separately. I made the snowflakes along the bottom with a punch and added some rhinestones and a gold star for embellishment.

What I like about it: The stamps and the “Hoo Hoo Hoo” message are fun and exactly what I imagined they would be. I also love the antiqued quality of the color scheme as opposed to the bright red and green (and now blue) that are ubiquitous around the holidays.

What I don’t like about it: The main image is off centered because I didn’t allow enough room around my stamps for cutting a rectangle.  I’m big on balance.  Also, it feels a little flat and less than what I wanted it to be.  In other words, meh.

But look what happened when the second batch came out:

hoohoohoo2 (1)1&2
hoohoohoo2 (6)
hoohoohoo2 (5)
hoohoohoo2 3&4

Definite improvement! I think my mom had just given me a huge bag of ribbon and lace and I found some great stuff to match my color scheme. Also, I made these cards AFTER I got together with my friends to make the Kitten in a Santa Hat cards.  Having other creative people around really helped get my own creative juices flowing.  I don’t know if I would have thought to cut out the owl and make it 3D otherwise.

All the positive feedback (and subsequent orders to buy them!) inspired a third round of cards with this theme.

hoohoohoo3 (3)
hoohoohoo3 (4)

I incorporated more contrasting shapes and pulled those “Hoo”s up off the flat surface to balance out the 3D effect of the owl. It might be hard to tell but I also distressed around the edge of the owl and tree image.

Compared to that first card, these feel finished, refined, balanced, and just plain old pretty. I think it says a lot about our potential as crafters, and as people in general, how much things can change and improve in a short time if we open our minds to it.

And to all the people who’ve told me that they “aren’t creative” after seeing some finished product of mine like this, I say: This end product took time and practice as well as the inspiration and support of my friends and family. Not to mention the hours I spend researching different products or techniques and then trying them out for the first time only to completely destroy a project.  It happens. You learn from it and keep trying.

I still have one more Christmas Card 2013 post so stay tuned.  Thanks for reading!

– Leann

Christmas Cards 2013, part 1

Hello friends!  This is a long time coming and so I’d like to jump right in.  I’m going to start by posting some older content while I work out the kinks of organizing this new website.  You may have seen some of this before, but new stuff is on the way!

I have been meaning to post something about the holiday card workshop I hosted in December for a small group of my friends.  We each created a unique look even though we started with the same stamp: an adorable kitten in a Santa hat.

KeighleyD
Made by Keighley

A fun detail: Sarah’s card showcases the stamped paper we all used.  We created it ourselves by stamping the cat in one distress ink color and overlapping it with a snowflake stamp in a lighter ink.  The cat detail colors were added individually with markers.

sarahC
Made by Sarah

I wanted everyone to use “Meowy Christmas” but I was outvoted.

Made by Maria
Made by Maria

And finally, my own set. Mind you, I had more time to finish these up after the party was over.

Made by Leann
Made by Leann

Not bad for a few ladies getting together to make cards for the first time.  I am very proud of what we all accomplished and hope to have more workshops in the future!